
Overview
OPNSense is designed with security in mind, but there are some security settings which are not enabled by default – one of them being Two-Factor-Authentication (2FA). I am a big fan of 2FA since it is a simple step that significantly enhances the ‘security at the front door’ (Don’t forget security at the back door though! – access via SSH does not have 2FA enabled, so enforcing a ssh certificate is recommended – more on this in a later post).
Why 2FA
In my opinion, 2FA is probably the best bang for the buck when it comes to adding security to an application/service. It is usually easy to implement, requires minimal effort to use, and arguably enhances security by a factor of 100%. Just do it and don’t look back, you won’t regret enabling/using it.
Setup 2FA
Enabling 2FA is pretty simple in OPNSense. Simply:
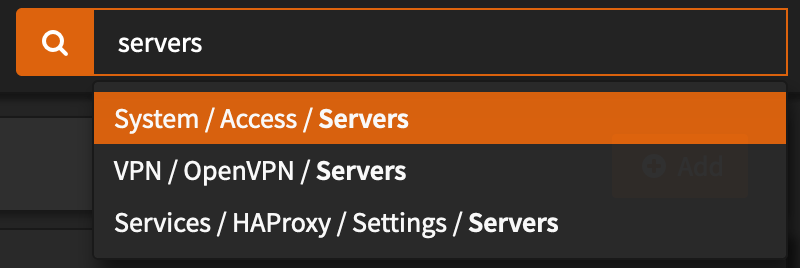
- In OPNSense navigate to System > Access > Servers or just simply search for
serversin the searchbar:
- Click the
Addbutton

- Give the Authentication server a name, in my case I’ll call it ‘Password + TOTP’
- Change the type to
Local + Timebased One Time Password - All the other defaults should be fine.
- Save the changes.
- Navigate to System > Access > Users and click the pencil icon to modify your user
- Look for
OTP seedand clickGenerate new secret (160 bit) - Click Save
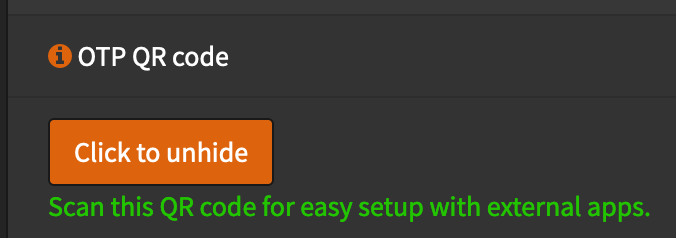
- How under the
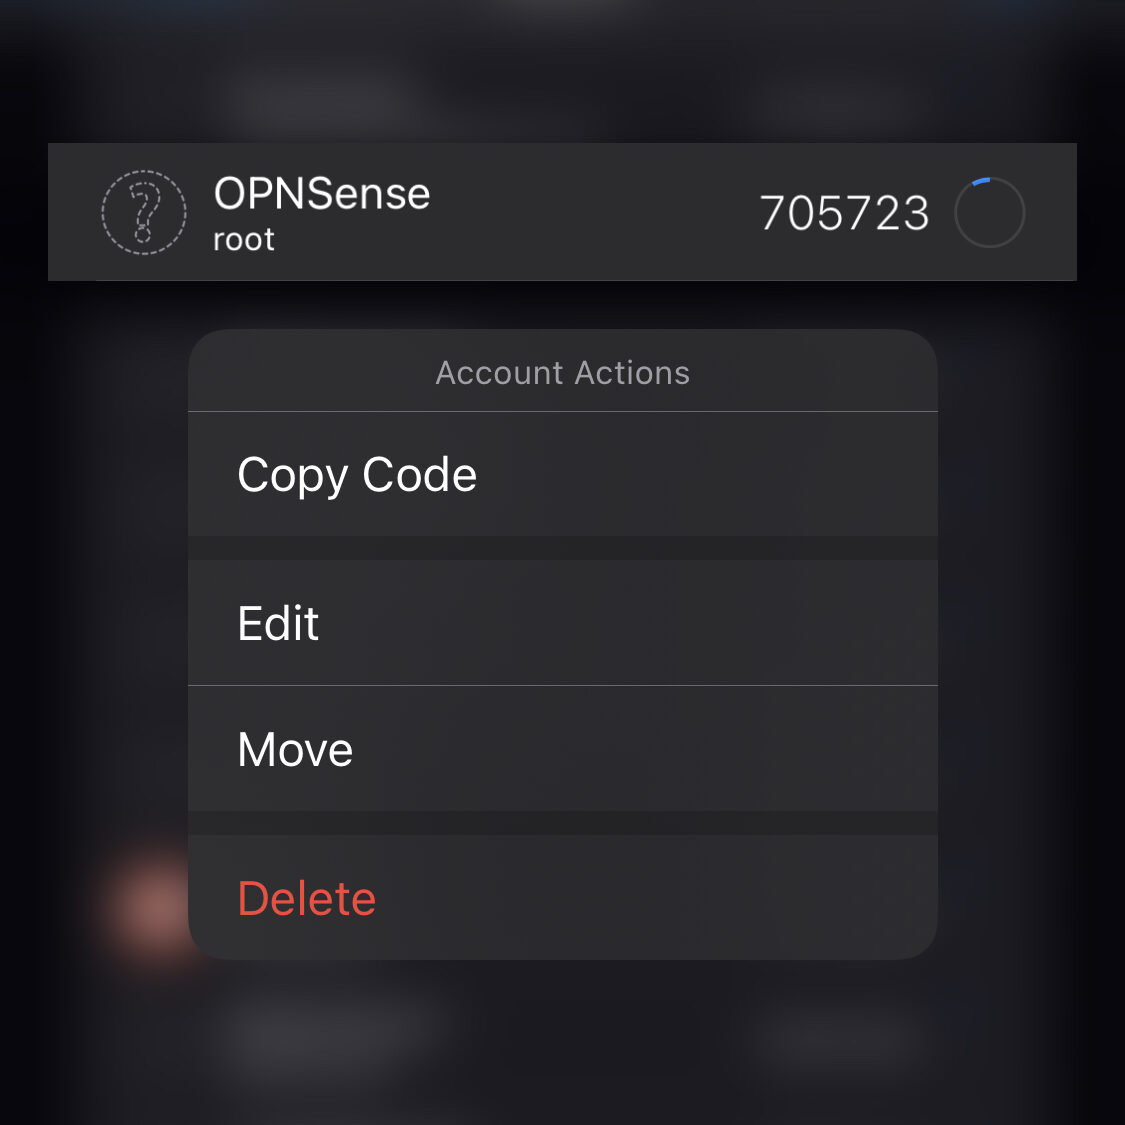
OTP seedsetting there should be a button that saysClick to unhide. Clicking this button will display a QR Code that can be used to setup your favorite TOTP (Time based One Time Password) app. My favorite is OTP Auth. Simply scan the QR Code using the app and you should immediately see the 2FA code displayed for 30 seconds at a time.
Test 2FA
Before enabling 2FA you will want to test it to make sure your code is working. To do so:
- Navigate to System > Access > Tester

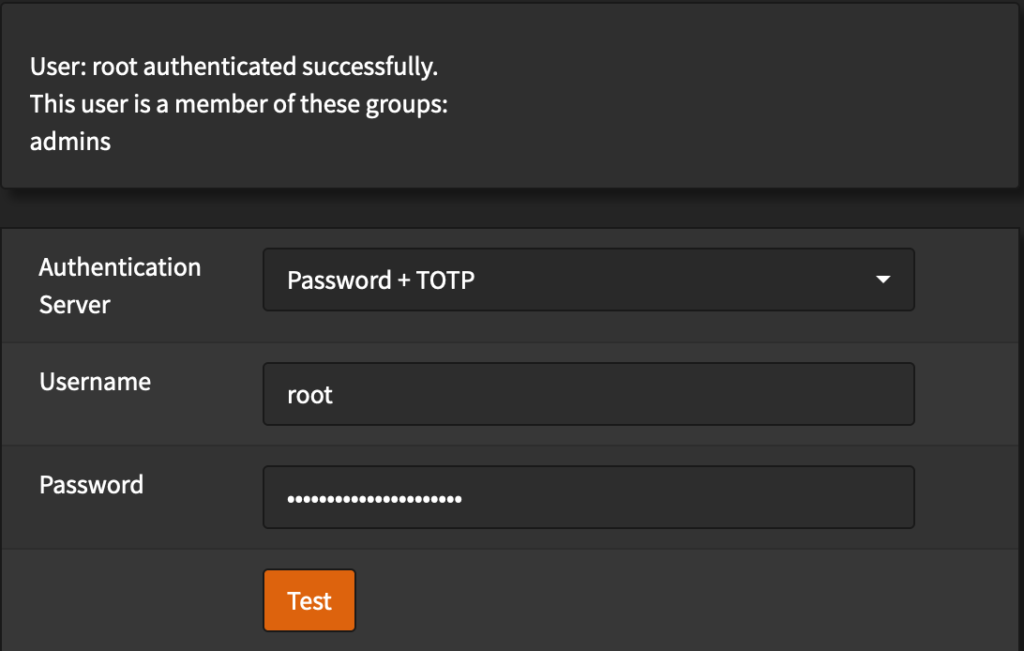
- Select your new
Authentication Serverfrom the dropdown, enter your username and password. - Add your TOTP code the the FRONT of your password (You may be used to entering the TOTP code in a separate input box, but OPNSense combines the password with the TOTP code)
- If setup correctly, OPNSense should display a success message:
Enable 2FA
Now that you have setup and tested 2FA, you should be able to enable it:
- Navigate to System > Settings > Administration

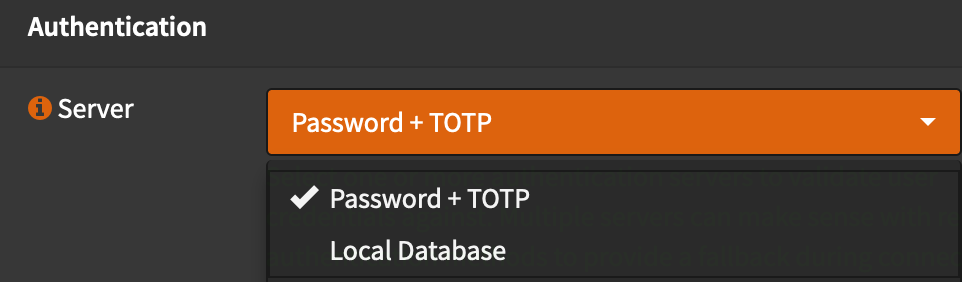
- Scroll to the bottom and change the Authentication Server to your new server (in my case:
Password + TOTP)- Note: You should disable/unselect the other
Local Databaseserver to prevent logins without using 2FA.
- Note: You should disable/unselect the other
- Test your code by trying to log out of and log back into OPNSenseNote: this would be a good time to take a snapshot or a backup of OPNSense if you ahve a means of doing so – just in case you can’t get back in! (In my case I can take a simple Proxmox snapshot)
Bask in your vastly improved security!
- Optionally make sure a certificate is required via ssh login (or disable ssh login completely) since ssh login does not support 2FA.