Overview
With a quickly growing HomeLab that contains many servers/services/devices I am starting to see the importance of being able to monitor all these ‘things’ from a central location. My understanding is that the goal of Zabbix is to do exactly this. So lets give it a go!
Installation
Initially i figured I would just install Zabbix in Docker like I do for most other services, but i quickly realized that the docker-compose would get messy pretty quick (see here for a sample). After looking over the install options on the Zabbix site, i realized that they offer a virtual appliance that can be run on most hypervisors (I run proxmox which supports the qcow2 KVM disk format). Here’s my steps for installing the virtual appliance in Proxmox (additional installation details can be found on the Zabbix appliance documentation):
Create a Proxmox Virtual Machine
When creating the VM, you can use all the default options, just give it a name and remove the HardDisk after the VM is created (we will add the Zabbix appliance disk later).
Download the Appliance
# From the proxmox shell run the following to download the appliance
# Note: Right click the Zabbix appliance download link to get the latest version
wget https://cdn.zabbix.com/zabbix/appliances/stable/5.2/5.2.5/zabbix_appliance-5.2.5-qcow2.tar.gz
Unzip the Appliance
tar -xvzf zabbix_appliance-5.2.5-qcow2.tar.gzImport the Appliance Disk to the Virtual Machine
# Note: Change the vm id, the appliance version and the storage type below
# (you may need to use 'local' if you are not using 'zfs')
qm importdisk 105 zabbix_appliance-5.2.5.qcow2 zfs
# Cleanup unneeded files
rm -rf zabbix_appliance-5.2.5-qcow2
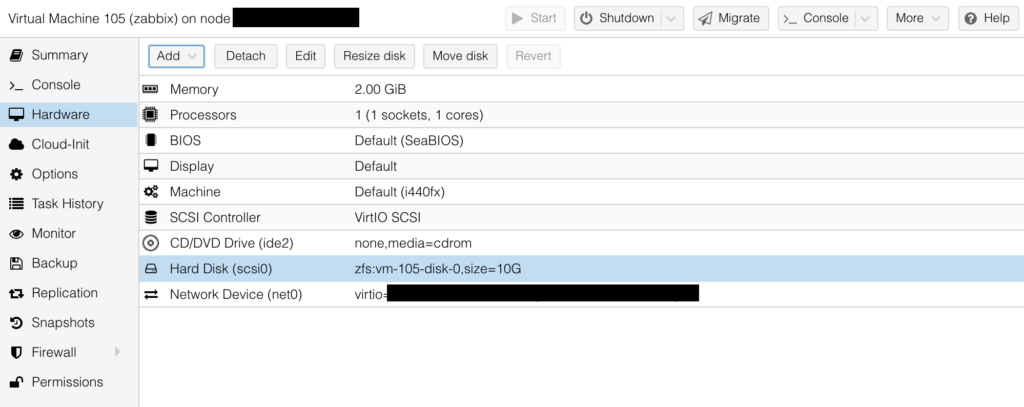
rm zabbix_appliance-5.2.5-qcow2.tar.gzUpdate VM Options
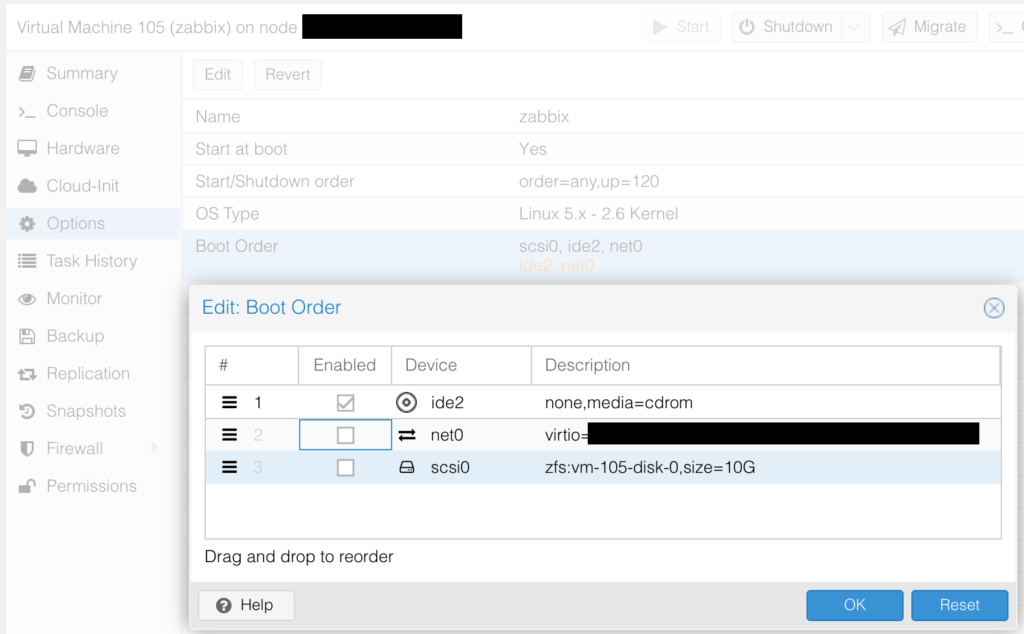
At this point you’ll want to make sure your VM is set to boot from the imported disk and to start on boot.
Assign Static IP Address (Optional)
Note: At this point it may be helpful to assign a DHCP Static mapping so your VM will receive a static IP address from your Router. This is how I did it in OPNSense:

Start VM
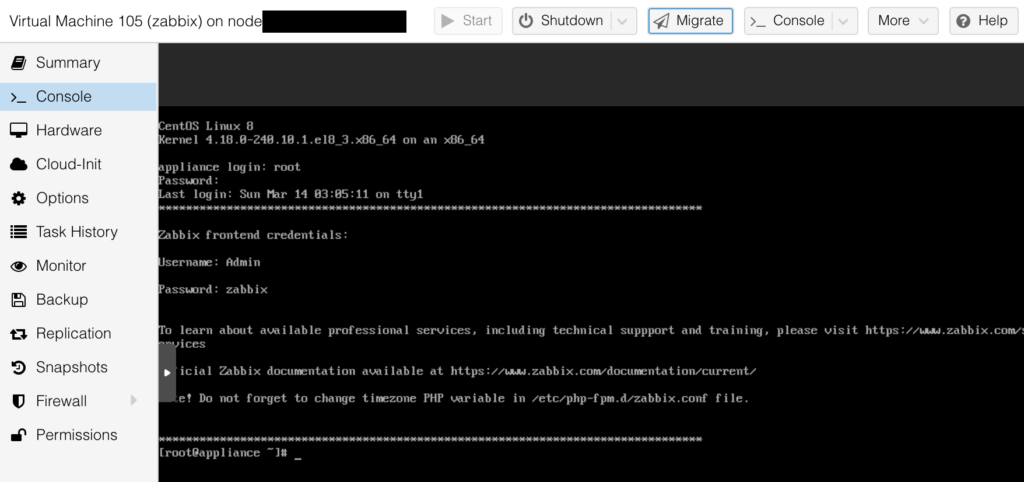
Now that we’ve got the VM setup, go ahead and start it up! The default login credentials were:
User: root
Pass: zabbix
Note: The default front-end web interface default login is shown in the console below:
User: Admin
Pass: zabbix
Log Into the Web Interface
In your browser navigate to the IP address of your Zabbix VM:
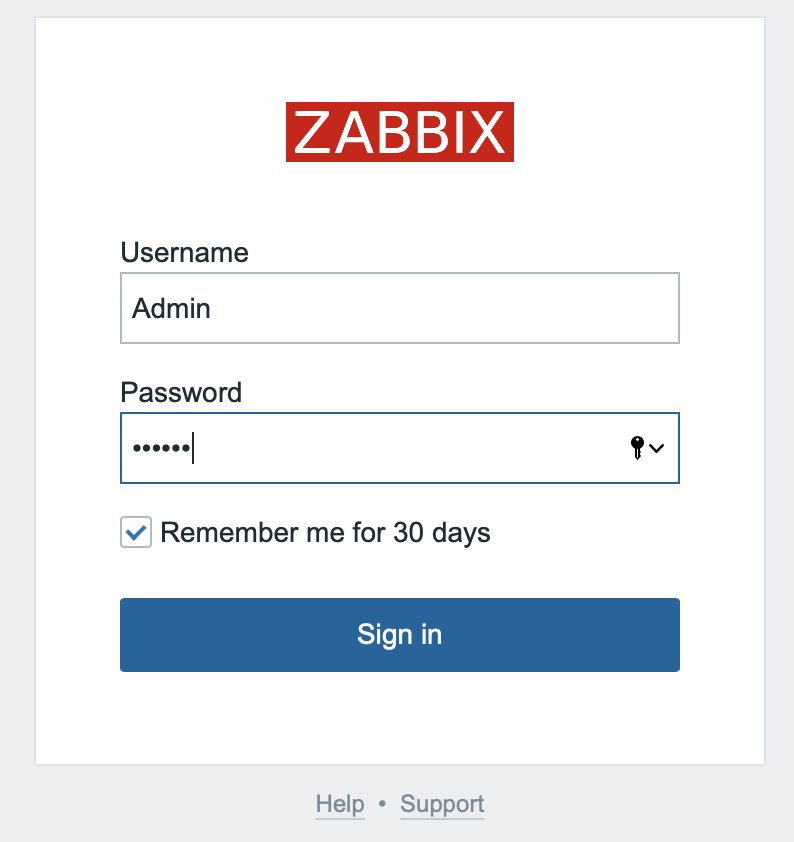
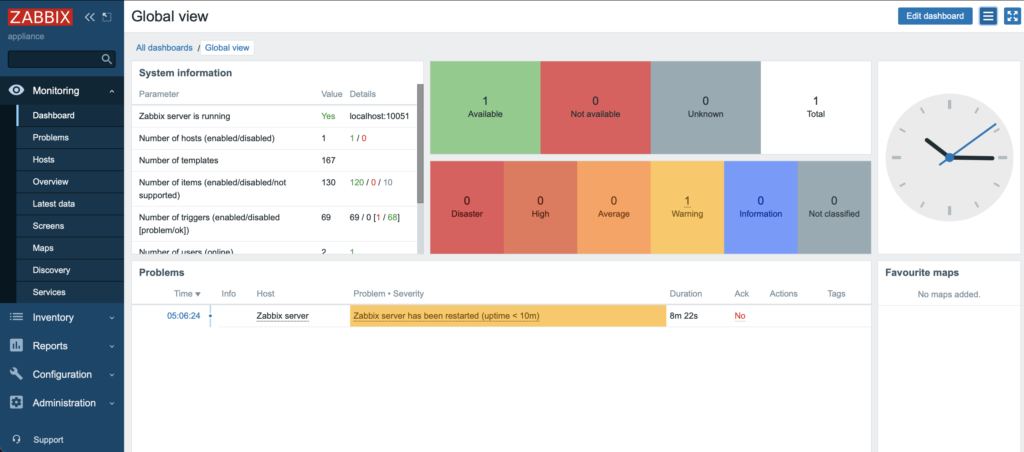
Congratulations. You have have a running Zabbix Instance! Don’t forget to finish configuring and securing your instance. A few items I addressed immediately were:
- Changing Web login credentials: WebUI > User Settings > Change Password
- Changing Console credentials: `
sudo passwd root` Change timezone: `cp /usr/share/zoneinfo/US/Eastern /etc/localtime`- For fun: change to the dark theme: WebUI > User Settings > Theme
Get Monitoring!
Now that you’re setup, what are you waiting for, get started monitoring all the things! We won’t cover how to setup monitoring in this post, we’ll save that for a future post which delves deeper into the benefits and use-cases of Zabbix. Enjoy! Also see Zabbix Host Configuration and Zabbix Email Notifications.
I have to say, during my lookout for a good monitoring suite for our company, Zabbix is the only one I couldn’t install. The information on this page got me to the point where the installation finally finished, while other attempts got stuck during install (on ProxMox), but the webpage never showed up after installing the appliance. Ports 80 and 443 aren’t even responding while 22 does.
I had good hopes in trying Zabbix as it looks quite nice, but I can’t run this in a production environment.
Hi, nice article, i had looked at zabbix and hated their mess of compose files, images and mount points. I saw them recommend not to use the appliance in production so dismissed the. Is the appliance good enough for a home lab (6 nucs, 25+ docker containers and 5 VMs etc)
Yes, the appliance is fine for homelab use. I also migrated to lighter options, but if you’re looking to test Zabbix for a larger deployment (where zabbix really shines), then the appliance should still be a good and easy way to get up and running quickly.
Hello,
so i follow u how with some update :
1/create Virtual machine on proxmox
2/
wget https://cdn.zabbix.com/zabbix/appliances/stable/6.2/6.2.4/zabbix_appliance-6.2.4-qcow2.tar.gz
tar -xvzf zabbix_appliance-6.2.4-qcow2.tar.gz
cd zabbix_appliance-6.2.4-qcow2/
qm importdisk 106 zabbix_appliance-6.2.4.qcow2 LUN012
nano /etc/pve/nodes/proxmox2/qemu-server/106.conf
change the disk-0 to disk-1
and i start my VM
and when i connect on web interface i got this message :
Database error
Access denied for user ‘zabbix_srv’@’localhost’ (using password: NO)
Retry
what is wrong please
You may want to check out the Appliance documentation here: https://www.zabbix.com/documentation/6.2/en/manual/appliance
Specifically make sure you’re using the right default username/password.