What, Why, When, and How Nextcloud

What is Nextcloud?

TLDR: A Nextcloud description is below, but why not just check out the demo!

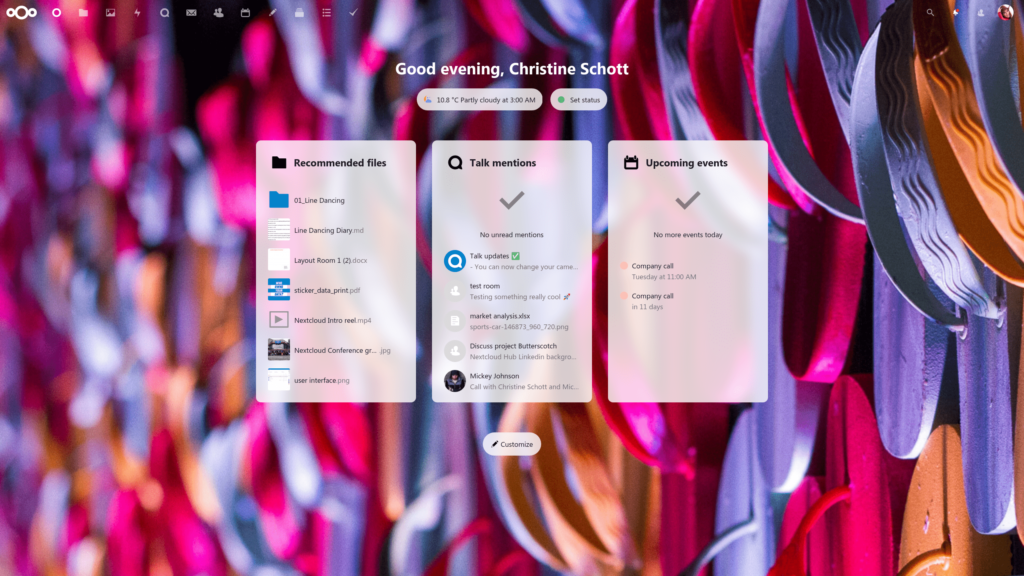
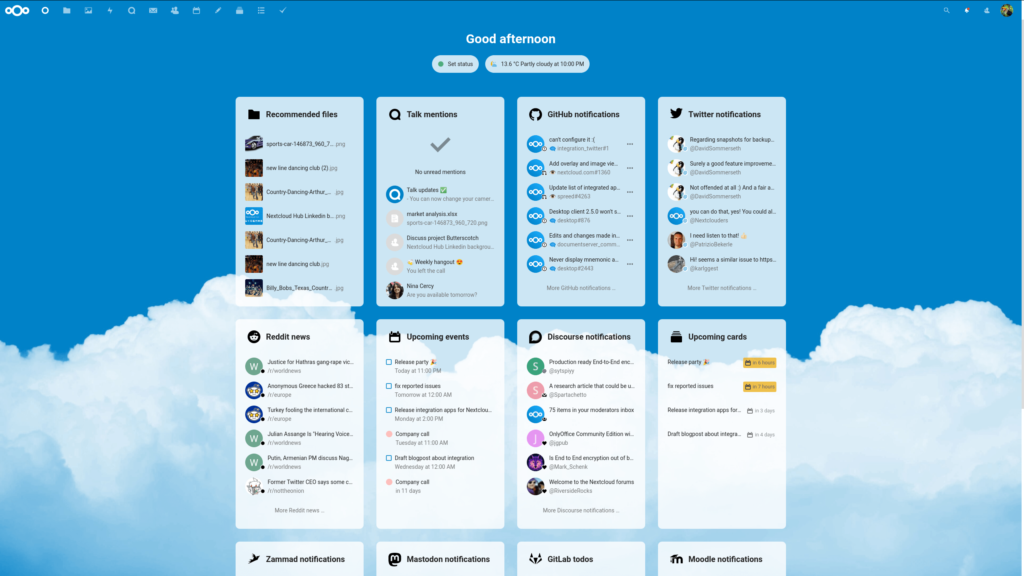
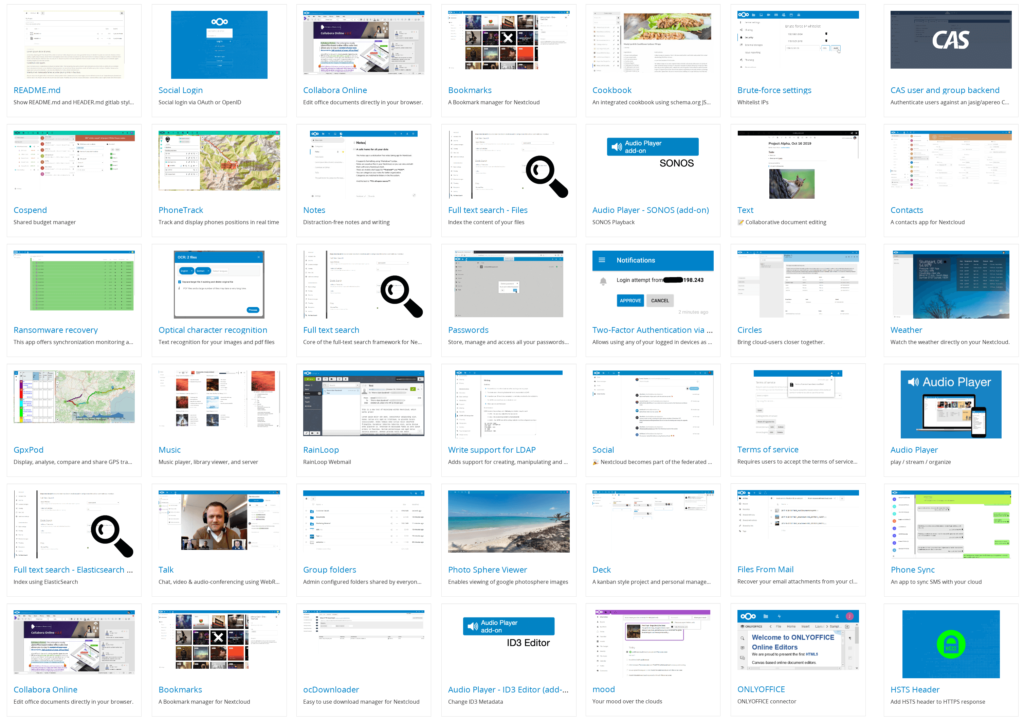
Nextcloud is a Free and Open Source Software (FOSS) that provides an enterprise grade all-in-one solution for file storage, collaboration, meetings, etc. Over the past few years Nextcloud has come a long way and is now my recommended solution for anyone seriously interested in hosting their own data with privacy and security in mind. Nextcloud is made up of many, many apps that can be installed as needed. Some of the apps include:

A sampling of a few Nextcloud apps
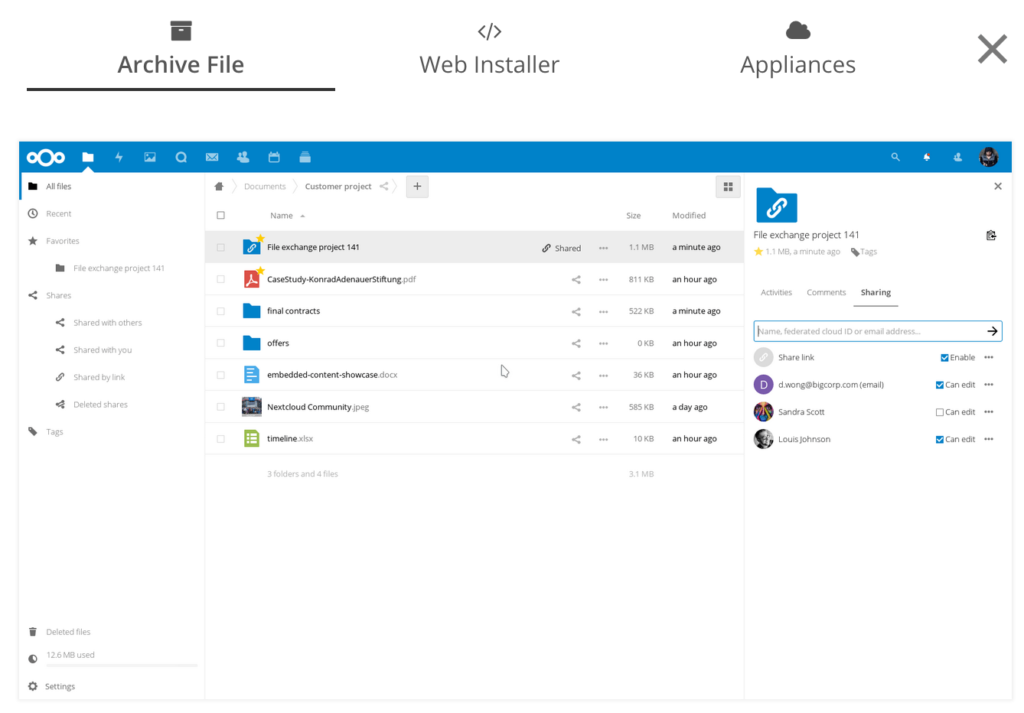
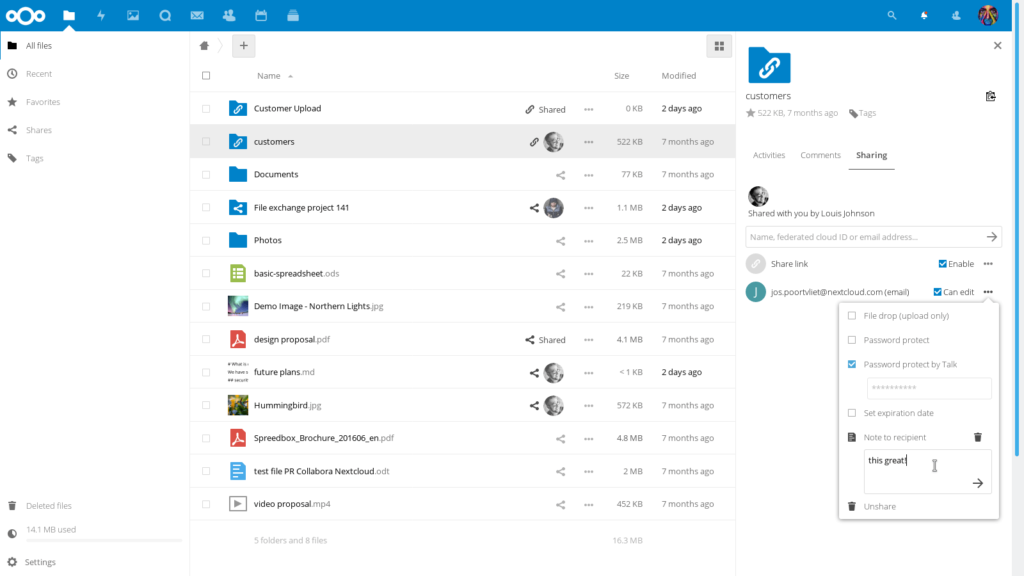
  • Files (This is installed by default and aids in storing/sharing/managing your files)
  • Calendar (This uses WebDav and can be synced to other devices more on this in a later post)
  • Tasks (This also can be synced using WebDav to other devices like MacOS/iOS Reminders)
  • Gallery (This helps with managing your photos in a centralized location)
  • Maps (Directions, pinning locations, mapping where your photos were taken, etc)
  • Contacts (Address book that uses WebDav to sync with other devices)
  • Bookmarks (Bookmark storage that can be synced to your browser using Floccus)
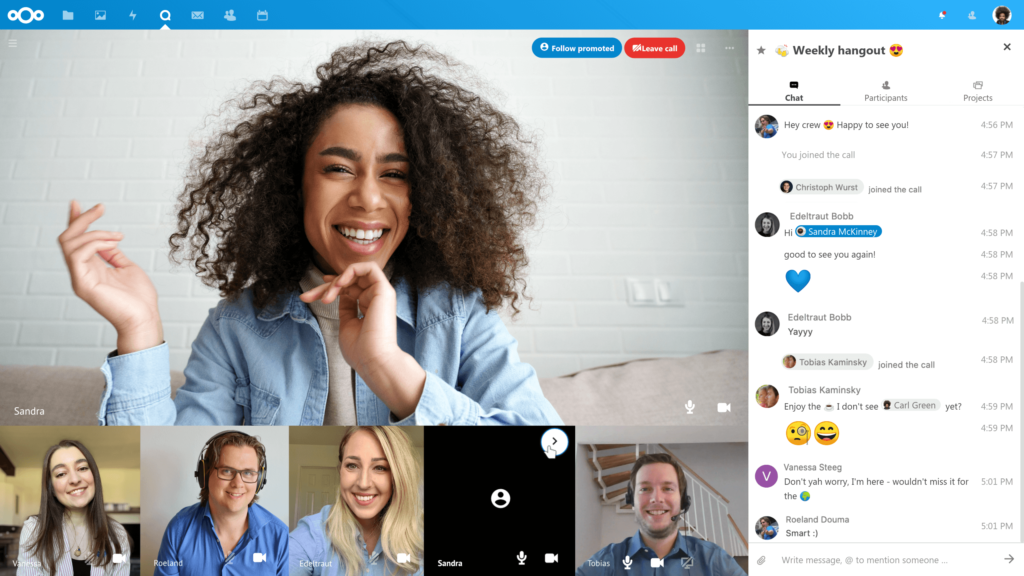
  • Talk (Meeting software like Zoom or Jitsi, no Nextcloud account needed to join calls!)
  • Mail (A very functional Mail client application with encryption, multiple accounts, etc)
  • Other features:
    • 2 Factor Authentication
    • File Sharing policies (timeframe, encryption options, public link expiration, etc)
    • LDAP user/group managment
    • Automated updates & Security audits
    • Forms
    • Polls
    • Project Management
    • Social Plugins
    • Password Manager
    • Many others (See the Nextcloud App Store)

Why Nextcloud?

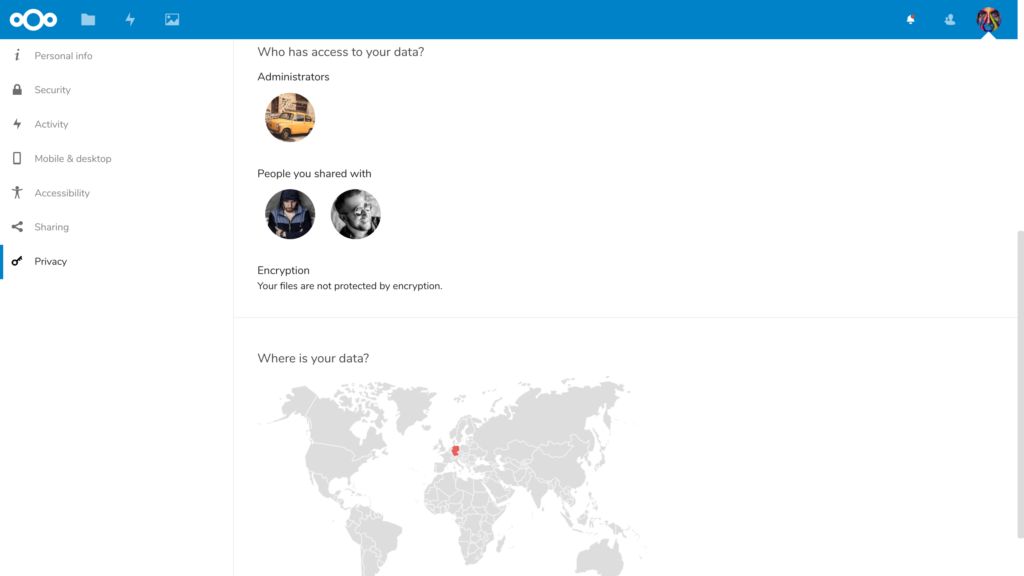
Why use Nextcloud? Simply put: data privacy. Nextcloud provides a private and secure vault for all your personal information. No need to worry about Google reading your emails and using your photos for machine learning purposes. No need to pay Dropbox or any other cloud storage company a monthly fee for storing your files on a server you have no control over. Nextcloud makes it easier to take responsibility for your own data so you know where it resides. If you’re still not convinced, check out Nextcloud’s reasoning.

When Nextcloud

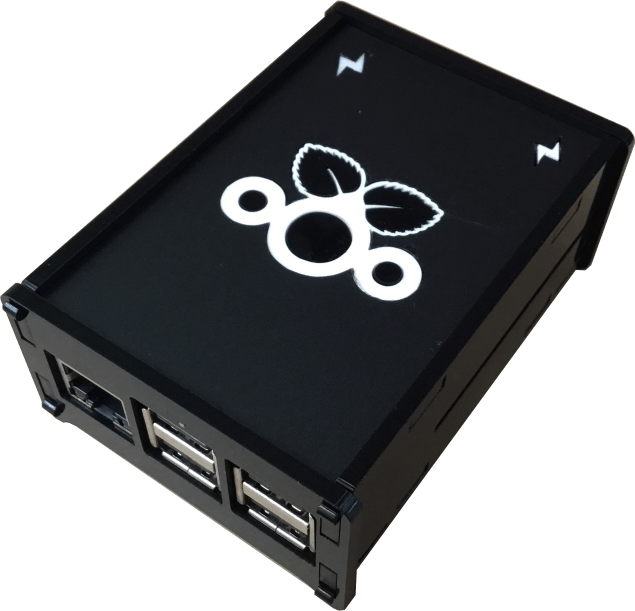
Given my bullish stance on Nextcloud, I would also like to make clear that Nextcloud isn’t for everyone. It does require some technical experience and a use case that is worth while. Nextcloud works best and is most enjoyable when it is used for more than just a few files. Casual or non-technical Nextcloud users would be better off signing up with a Nextcloud provider rather then self-hosting it since the providers will handle the configuration and hosting of the storage (this however does reduce your visibility in where and how your data is stored). An alternative to a cloud provider is to buy a dedicated, pre-configured piece of Nextcloud hardware with some tech support.

How Nextcloud

Requirements

Memory Required: 512MB

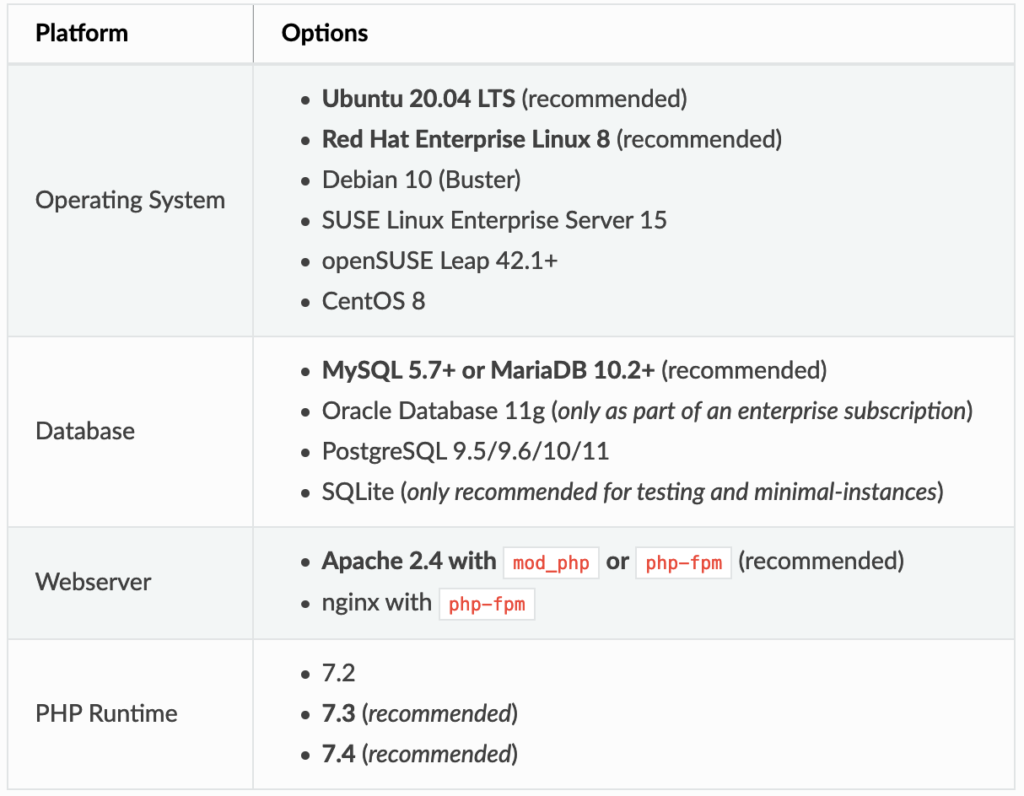
Nextcloud can be installed in a variety of ways. My preferred method is using the per-configured virtual appliance, but other methods include docker, Ubuntu snap, web-server script, archive extraction. Detailed installation instructions can be found in the Nextcloud Docs, but a simple rundown of the installation methods are listed below:

Appliance

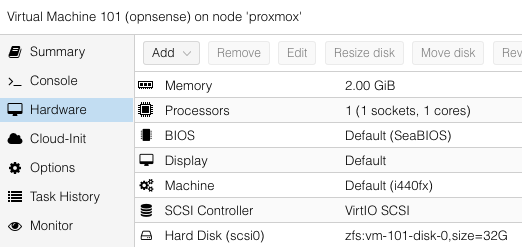
Virtual Machine (My preferred method)

I prefer this method since it allows me to take easy snapshots/backups of the entire Nextcloud environment. This gives me peace of mind so I can be sure I can rollback to a point in time if anything goes wrong.

  1. Download the Virtual Machine (There are also advanced-configured VMs here)
  2. Setup a VM in your favorite Hypervisor (Proxmox, Hyper-V, VirtualBox, VMWare, etc)
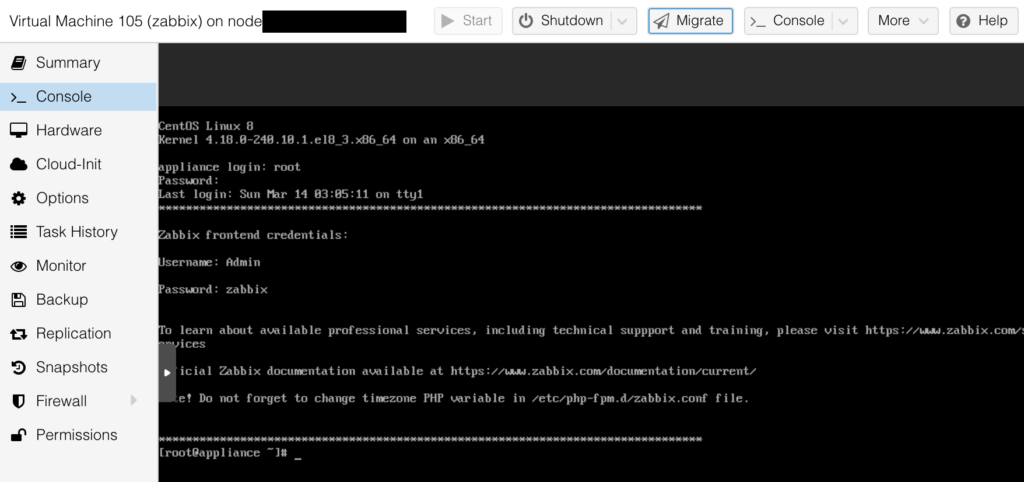
  3. Import the downloaded Virtual Machine file and start the virtual machine (check the console)
  4. Login to the pre-configured Nextcloud instance and enjoy!

Appliance: Docker (Great for those already using Docker)

For those already using docker, this method may be appealing. I avoided this option primarily because it didn’t have a very clean docker-compose setup.

  1. On a docker-enabled machine run `docker run -d -p 8080:80 nextcloud`
  2. Alternatively, if you use docker-compose, start with this template:
version: '2'

volumes:
  nextcloud:
  db:

services:
  db:
    image: mariadb
    restart: always
    command: --transaction-isolation=READ-COMMITTED --binlog-format=ROW
    volumes:
      - db:/var/lib/mysql
    environment:
      - MYSQL_ROOT_PASSWORD=
      - MYSQL_PASSWORD=
      - MYSQL_DATABASE=nextcloud
      - MYSQL_USER=nextcloud

  app:
    image: nextcloud
    restart: always
    ports:
      - 8080:80
    links:
      - db
    volumes:
      - nextcloud:/var/www/html
    environment:
      - MYSQL_PASSWORD=
      - MYSQL_DATABASE=nextcloud
      - MYSQL_USER=nextcloud
      - MYSQL_HOST=db

Appliance: Ubuntu Snap (Easy for Beginners, but not recommended!)

This installation method is very easy but does have some drawbacks. From my experience, updates are slower to be released to the Nextcloud ubuntu snap distribution and often has issues with edge cases (I’ve noticed this with Collabora docs). It is also very difficult to migrate Nextcloud from a snap installation to a different installation method (I learned this the hard way!).

  1. Setup an ubuntu machine with snap enabled.
  2. Run `snap install nextcloud`
  3. Follow the installation steps and enjoy.

Web Installer (Good for C-Panel style web-hosting)

  1. Download the php script from the Nextcloud Site
  2. Upload the php scrip to your web server
  3. Point your browser to the php script
  4. Walk through the installation wizard (default user: ncadmin default password: nextcloud)
  5. Enjoy!

Manual Archive File Installation (Most Difficult)

  1. Download the Archive from the Nextcloud site
  2. Extract the archive file to an accessible location on your web server
  3. Configure Apache webserver
  4. Configure SSL
  5. Walk through installation wizard

Enjoy Nextcloud!

‘Don’t be Evil’ Isn’t enough for me!

Installing Zabbix for HomeLab Monitoring

Overview

With a quickly growing HomeLab that contains many servers/services/devices I am starting to see the importance of being able to monitor all these ‘things’ from a central location. My understanding is that the goal of Zabbix is to do exactly this. So lets give it a go!

Installation

Initially i figured I would just install Zabbix in Docker like I do for most other services, but i quickly realized that the docker-compose would get messy pretty quick (see here for a sample). After looking over the install options on the Zabbix site, i realized that they offer a virtual appliance that can be run on most hypervisors (I run proxmox which supports the qcow2 KVM disk format). Here’s my steps for installing the virtual appliance in Proxmox (additional installation details can be found on the Zabbix appliance documentation):

Create a Proxmox Virtual Machine

When creating the VM, you can use all the default options, just give it a name and remove the HardDisk after the VM is created (we will add the Zabbix appliance disk later).

VM Created in Proxmox (Shows Zabbix disk added)

Download the Appliance

# From the proxmox shell run the following to download the appliance
# Note: Right click the Zabbix appliance download link to get the latest version
wget https://cdn.zabbix.com/zabbix/appliances/stable/5.2/5.2.5/zabbix_appliance-5.2.5-qcow2.tar.gz

Unzip the Appliance

tar -xvzf zabbix_appliance-5.2.5-qcow2.tar.gz

Import the Appliance Disk to the Virtual Machine

# Note: Change the vm id, the appliance version and the storage type below
#       (you may need to use 'local' if you are not using 'zfs')
qm importdisk 105 zabbix_appliance-5.2.5.qcow2 zfs

# Cleanup unneeded files
rm -rf zabbix_appliance-5.2.5-qcow2
rm zabbix_appliance-5.2.5-qcow2.tar.gz

Update VM Options

At this point you’ll want to make sure your VM is set to boot from the imported disk and to start on boot.

Set VM to boot from imported disk

Assign Static IP Address (Optional)

Note: At this point it may be helpful to assign a DHCP Static mapping so your VM will receive a static IP address from your Router. This is how I did it in OPNSense:

Start VM

Now that we’ve got the VM setup, go ahead and start it up! The default login credentials were:
User: root
Pass: zabbix
Note: The default front-end web interface default login is shown in the console below:
User: Admin
Pass: zabbix

Proxmox Console View

Log Into the Web Interface

In your browser navigate to the IP address of your Zabbix VM:

Zabbix Web Login
Zabbix Dashboard

Congratulations. You have have a running Zabbix Instance! Don’t forget to finish configuring and securing your instance. A few items I addressed immediately were:

  • Changing Web login credentials: WebUI > User Settings > Change Password
  • Changing Console credentials: `sudo passwd root`
  • Change timezone: `cp /usr/share/zoneinfo/US/Eastern /etc/localtime`
  • For fun: change to the dark theme: WebUI > User Settings > Theme

Get Monitoring!

Now that you’re setup, what are you waiting for, get started monitoring all the things! We won’t cover how to setup monitoring in this post, we’ll save that for a future post which delves deeper into the benefits and use-cases of Zabbix. Enjoy! Also see Zabbix Host Configuration and Zabbix Email Notifications.

Discovering & Migrating to OPNsense from pfSense

Background

I’ve been happily using pfSense for a few years now and have generally been quite happy with it’s performance and feature set, however I learned recently that the installation files that can be downloaded from the pfSense website is not the same code that is open sourced on Github. I try to stay away from the arguments about which software is ‘more’ open source friendly, but I do like to support the projects that are committed to a FOSS (Free and Open Source) model without up-selling additional features. I don’t have anything against up-selling additional features, but IMO up-selling additional features can lead to a neglected core product.

pfSense – Thank You

I am not leaving pfSense because I didn’t like the project, but because I wanted to try something new that is more committed to an Open Source future. pfSense is a great solution for any networking enthusiast, and I would not hesitate to recommend it. However, as you will see below, I would first recommend OPNsense for a few main reasons…

  • Full-featured email notifications (pfSense had some email notifications but they were severely limited)
  • A search for settings (IMO, the pfSense menus were poorly organized)
  • Reports (pfSense has some summary statistics & status pages, but no all-in-one way to generate reports on a wide range of network statistics)
  • TOTP Two Factor authentication login (pfSense may now support this?)
  • Event-based automation (pfSense had a Watchdog package that would restart services, but was limited)
  • Official API (pfSense had unofficial APIs and hacks, but nothing full-featured)
  • Home Assistant integration (pfSense did have a HACS integration, but it required additional hacks to setup)
  • Nextcloud Configuration Backups

OPNSense – The Future is Now

I’ve always wondered about OPNsense and if it could offer some of the things I often wanted in pfSense but could not easily achieve, and so far I have been very pleasantly pleased with the installation & configuration.

Installation

Installation was straightforward (although I installed it in a Proxmox VM):

  • Download ISO from OPNsense website & upload ISO to Proxmox server
  • Create a new Proxmox VM:
  • Attach ISO to VM & start VM
  • Follow the installation wizard & tips on the OPNsense documentation.
  • Finish the rest of the configuration in the OPNsense web GUI (Default user/password: root/opnsense)

Migrating from pfSense

The most daunting task that I was dreading was figuring out how to migrate to OPNsense from pfSense with minimal downtime. I had heard of a slight possibility that certain sections of pfSense configuration backups could be imported into OPNsense, but I decided to avoid that route in order to start with as clean of an OPNsense installation as possible. My migration path was:

  • Step through each menu in pfSense and update the corresponding setting in OPNsense
    • Some configuration items didn’t exist like the awesome pfBlocker (I will miss this)
    • When I came to the ‘Interfaces’ section, I setup each interface with a different (temporary) static IP
  • After all configuration items were finished, I began to shut down services on pfSense and enable them on OPNSense one at a time (i.e., disable dhcp on LAN, and enable LAN DHCP on OPNSense with same lease range)
  • Finally I disabled the interfaces on pfSense and re-configured the static IP addresses on the OPNSense interfaces to match how they were configured in pfSense.

The Features I’ve Always Wanted!

Full-featured Email Notifications, Reporting, Settings Search, Home Assistant Integration…

Related Posts