Free and OpenSource Photo Libraries

Overview

In my quest to reduce my reliance upon proprietary software applications, I’ve begun to focus some more time in finding a good Google Photos or Apple Photos alternative. As began looking at the alternatives, I discovered that there were way more options that I had originally anticipated. Each alternative had a different feature set and I found it difficult to compare the different options. To solve this dilemma for myself (and hopefully for many others), I’m compiling a list of free and open source photo libraries that can be self-hosted or run locally without any need for cloud services.

Google/Apple Photos Alternatives

My alternative comparison list looks like the following (Be sure to visit the github repository for the most up to date comparison.

** This page was last updated on 2023-06-05

Free and OpenSource Photo Libraries

There are many great free and open-source alternatives to paid photo libraries. This project aims to track and compare the feature set between the many different options with a focus on ‘Gratis’ (free as in free beer) open source photo libraries. ‘Libre’ (free as in free speech) projects are also welcome, but will likely need to be submitted via a pull request since the time in testing each different project is significant.

Comparison

✅ = Feature exists in at least a limited fashion
🚧 = Feature may exist but may not be practical or officially released
❌ = Feature does not yet exist
#️⃣ = Subjective measure of feature quality (on scale of 0-10)
Tip: Hover over icons for missing/incomplete features for more information (link to repository issue, etc)
Feature Damselfly HomeGallery Immich Librephotos Lychee Nextcloud Photos Nextcloud Memories Photonix Photofield PiGallery2 Photoprism Photoview Piwigo
Github Stars ? ? ? ? ? ? ? ? ? ? ? ? ?
Active Contributors 1 1 4 2 3 3 1 1 1 1 4 1 3
Source Language C# JavaScript / TypeScript Dart / TypeScript Python PHP JavaScript PHP / Vue Python Go / Vue TypeScript Go Typescript / Go PHP
License ? ? ? ? ? ? ? ? ? ? ? ? ?
Demo 6️⃣ 6️⃣ 5️⃣ 4️⃣ 4️⃣ 8️⃣ 8️⃣ 6️⃣ 8️⃣ 9️⃣ 9️⃣ 9️⃣
Freeness ✅🔟 ✅🔟 ✅🔟 ✅🔟 ✅🔟 ✅🔟 ✅🔟 ✅🔟 ✅🔟 ✅🔟 🚧7️⃣ ✅🔟 ✅🔟
Automatic Mobile Upload ✅7️⃣ ✅7️⃣ ✅7️⃣ ✅6️⃣ ✅7️⃣
Web App ✅8️⃣ ✅8️⃣ ✅8️⃣ ✅8️⃣ ✅8️⃣ ✅7️⃣ ✅9️⃣ ✅7️⃣ ✅9️⃣ ✅7️⃣ ✅7️⃣ ✅8️⃣ ✅8️⃣
Android App 8️⃣ 7️⃣ 3️⃣ 3️⃣ 4️⃣ 🚧4️⃣ 🚧3️⃣ 7️⃣
iOS App 8️⃣ 🚧3️⃣ 3️⃣ 3️⃣ 4️⃣ 🚧4️⃣ 6️⃣ 7️⃣
Desktop App ✅9️⃣ ✅8️⃣ 2️⃣ 2️⃣
LivePhotos Support ✅9️⃣ 6️⃣ ✅️3️⃣ ✅8️⃣ ✅7️⃣
Video Support ✅6️⃣ 7️⃣ ✅8️⃣ ✅6️⃣ ✅5️⃣ ✅7️⃣ 3️⃣ ✅8️⃣ ✅7️⃣ ✅7️⃣ ✅4️⃣
Photo Map ✅7️⃣ ✅8️⃣ ✅4️⃣ ✅8️⃣ ✅5️⃣ ✅6️⃣ ✅8️⃣ ✅9️⃣ ✅8️⃣ ✅6️⃣ ✅8️⃣ ✅7️⃣
Photo Discovery ✅7️⃣ ✅6️⃣ ✅6️⃣ ✅7️⃣ ✅6️⃣ ✅1️⃣
Albums ✅8️⃣ ✅9️⃣ ✅8️⃣ ✅4️⃣ ✅8️⃣ ✅5️⃣ ✅6️⃣ ✅8️⃣ ✅6️⃣ ✅8️⃣
Slideshow ✅5️⃣ ✅5️⃣ ✅6️⃣ ✅7️⃣ ✅6️⃣ ✅5️⃣
Timeline ✅5️⃣ ✅3️⃣ ✅8️⃣ ✅9️⃣ ✅4️⃣ ✅9️⃣ ✅5️⃣ ✅6️⃣ ✅5️⃣ ✅5️⃣ ✅9️⃣ ✅3️⃣
Photo Sharing ✅4️⃣ ✅9️⃣ ✅9️⃣ ✅8️⃣ ✅8️⃣ ✅7️⃣ ✅7️⃣ ✅8️⃣ ✅5️⃣
Photo Search ✅8️⃣ ✅7️⃣ ✅7️⃣ ✅8️⃣ ✅5️⃣ ✅4️⃣ ✅4️⃣ ✅8️⃣ ✅9️⃣ ✅7️⃣ ✅8️⃣ ✅5️⃣ ✅7️⃣
Duplicate Handling ✅6️⃣ 8️⃣ 8️⃣ ✅5️⃣ 6️⃣ ✅6️⃣
User Defined Tags ✅7️⃣ ✅7️⃣ ✅5️⃣ ✅️3️⃣ ✅️3️⃣ ✅6️⃣ ✅6️⃣ ✅5️⃣ ✅7️⃣
Docker Installation ✅8️⃣ ✅8️⃣ ✅7️⃣ ✅7️⃣ ✅7️⃣ 6️⃣ 6️⃣ ✅8️⃣ ✅7️⃣ ✅7️⃣ ✅6️⃣ ✅8️⃣ 7️⃣
Object/Face Recognition ✅8️⃣ ✅6️⃣ ✅6️⃣ ✅8️⃣ ✅8️⃣ ✅8️⃣ ✅8️⃣ ✅7️⃣ ✅6️⃣ ✅9️⃣ ✅6️⃣ 5️⃣
Basic Editing ✅6️⃣ ✅6️⃣
EXIF Data ✅9️⃣ ✅7️⃣ ✅7️⃣ ✅8️⃣ ✅7️⃣ 🚧3️⃣ ✅7️⃣ ✅9️⃣ ✅7️⃣ ✅6️⃣
Multiple User Support ✅7️⃣ ✅7️⃣ ✅8️⃣ ✅6️⃣ ✅9️⃣ ✅9️⃣ ✅7️⃣ ✅7️⃣ ✅6️⃣ ✅8️⃣

Note: This list is by no means comprehensive. For links to other photo library projects, see the Awesome Self-Hosted list and the Awesome Privacy list.

An HTML version of this comparison table is here: https://meichthys.github.io/foss_photo_libraries/

Contributing

Please contribute additions and corrections! When contributing, please add links to the source of the information. (i.e. link to an issue that indicates that a feature does not exist)


~ Don’t give away your photos to the largest data collection entities in the world! Your photos document your life better than any other kinds of data. Pictures are worth more than a thousand words to advertisers!

How To Delete Your Facebook

Overview

Let’s just admit it. Facebook has become a drain on society. From the cesspool-like comment threads, to the encouragement of unhealthy relationships/connections, to pure social addiction, most of what Facebook has become is not something I want to continue to be a part of.

Goals

I have the following goals in deleting my Facebook:

✅ Download as much of my personal information as possible (Media, Documents, etc)

✅ Still be able to manage organization pages

✅ Delete my personal Facebook account and as much of it’s associated information as possible

Take Control Of Your Information

Download

Before deleting your Facebook account it is a good idea to download your information for future reference (even if you don’t ever plan too need it). Thankfully the download process isn’t too difficult:

  1. Browse to the “Download Your Information” settings page.
  2. In the Date Range field, choose: All-Time
  3. In the Format field choose HTML
  4. Click Create File.
  5. Wait a couple hours/days and you will receive an email with a link to download your infomration
  6. Repeat steps 1-5 but change the Format field to JSON (This can be used to import your information into another service at a later point if desired)
  7. Take a few minutes to unzip the downloaded information and look around. You will begin to realize that facebook really does know more about you than you think – You’re the product! For reference, I’m not an active facebook user and the un-ziped download contained 9,278 files in the following directories:

Transfer

Downloading your facebook information in the way above includes all of your data, but if you want a more accessible/organized download of your photos, videos, notes, or posts, you should transfer your data in addition to downloading it. Once the transfer is complete, I recommend downloading the files to your computer from the new location, then delete them. Keep your data local and keep it backed up!

Create Dummy Account (For managing other pages)

If you need to manage other Facebook pages/groups, you may still need an account. We can create a dummy account used solely for the purpose of managing these pages/groups:

  1. Log out of your existing Facebook account.
  2. Browse to Facebook.com and sign up for a new account.
    • Be sure to use a fake name and information
  3. Sign into your old Facebook account and complete the following:
    • Give your dummy account ownership or admin roles for any pages/groups you want to keep.
    • Un-link or setup an email address for any accounts that have been setup using Facebook Login (websites that let you log in using your Facebook account)
  4. Sign out of your old Facebook account
  5. Sign into your dummy account and verify that you have ownership/admin access to your pages/groups that you wish to keep

Delete Facebook

  1. Finally we get to do the deed. 🎉 Let’s delete Facebook for good:
  2. Browse to the deletion page in your Facebook settings.
  3. Choose Delete Account (Don’t think twice).
  4. Click Continue to Account Deletion.
  5. At this point, look over the accounts that will be deleted.
  6. If any pages/groups show up that you want to keep, be sure to transfer ownership/admin role to your dummy Facebook account before continuing!
  7. Click Continue
  8. Congratulate yourself for doing something that only few have been able to do!

~ Do you remember the day you signed up for Facebook? Remember what happened to Facebook the next time you are tempted to sign up for the latest and greatest social media service. A wise man once told me “Email is the best social media.”

Privacy: Virtual Credit Card Numbers

Overview

I’ve always found it frustrating that a credit card number is static – in other words it can not easily be changed by the owner to prevent duplication by anyone with access to the card (i.e. waiter, convenience store worker, etc).

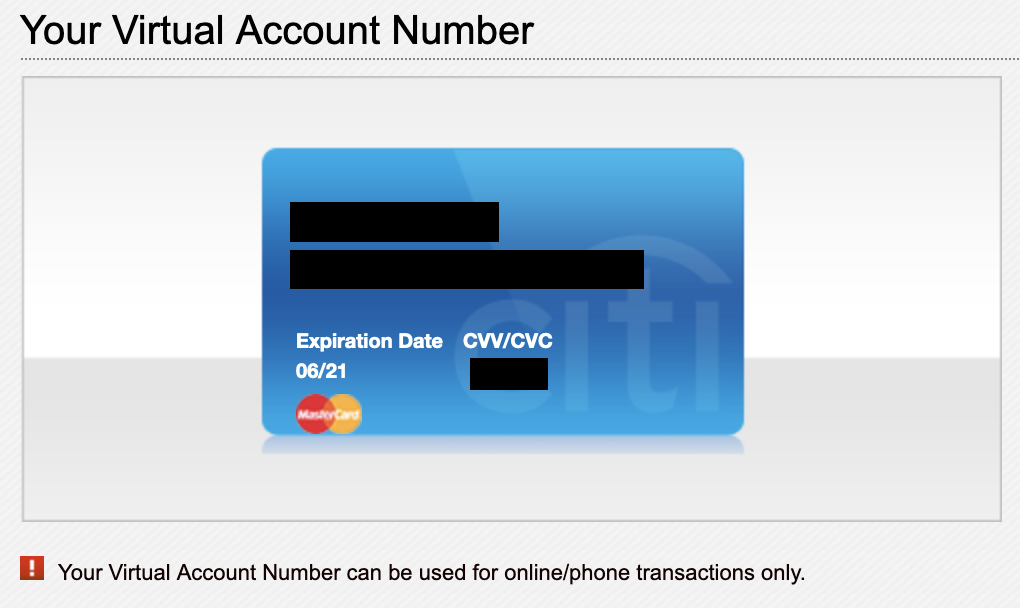
Today I re-discovered that some Citi Credit cards have the option of generating separate virtual credit cards for use on individual purchases (this option was removed at one point). This is a great boon to security – especially when needing to make a purchase from a ‘less than reputable’ site online.

Below we will look at my two favorite options for creating virtual credit cards, and then we will take a look at the benefits of using these virtual cards:

Option 1: Privacy.com

There may be other similar services, but I’ve enjoyed using the free service of Privacy.com (This is a referral link) to generate virtual credit cards. Use cases may include scenarios like:

  • Limit a subscription service to a certain amount each month – and if they raise the cost, the auto-payment will fail.
  • Create a one-time use credit card for one-off purchases
  • Keep your own bank from knowing what you purchase (all they see is that you purchased something from privacy.com!

How do they make their money?

If you’re wondering how they make their money, they take the place of the Credit Card Companies and charge the vendor a small fee (You don’t incur any additional charges).

Requirements to use Privacy.com

It requires you to provide the details of your debit card or a checking account.

How it works

Using the Privacy.com website, a mobile App, or a browser extension (the most useful), you can generate any number of virtual credit cards with various parameters. The browser extension is the most useful because it will automatically detect credit card fields and auto-generate a card for you and fill the credit card fields automatically (It’s like magic)!

Yes, I realize that I’m giving up some privacy in handing over my debit card information to privacy.com, but I personally find it a worth-while trade off.

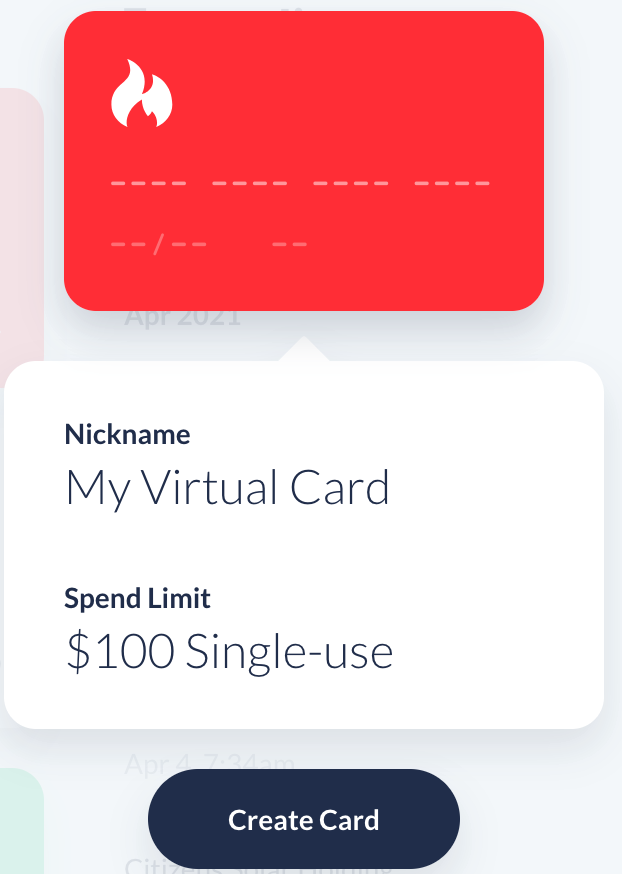
Creating a New Virtual Card
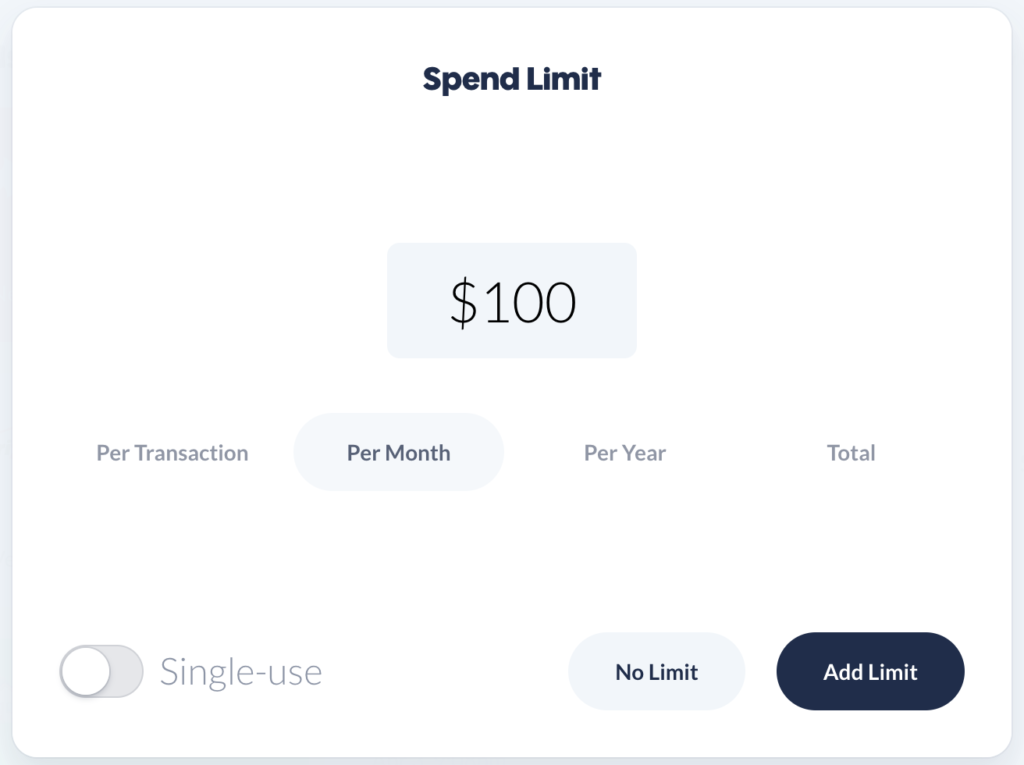
Add Optional Spending Limit
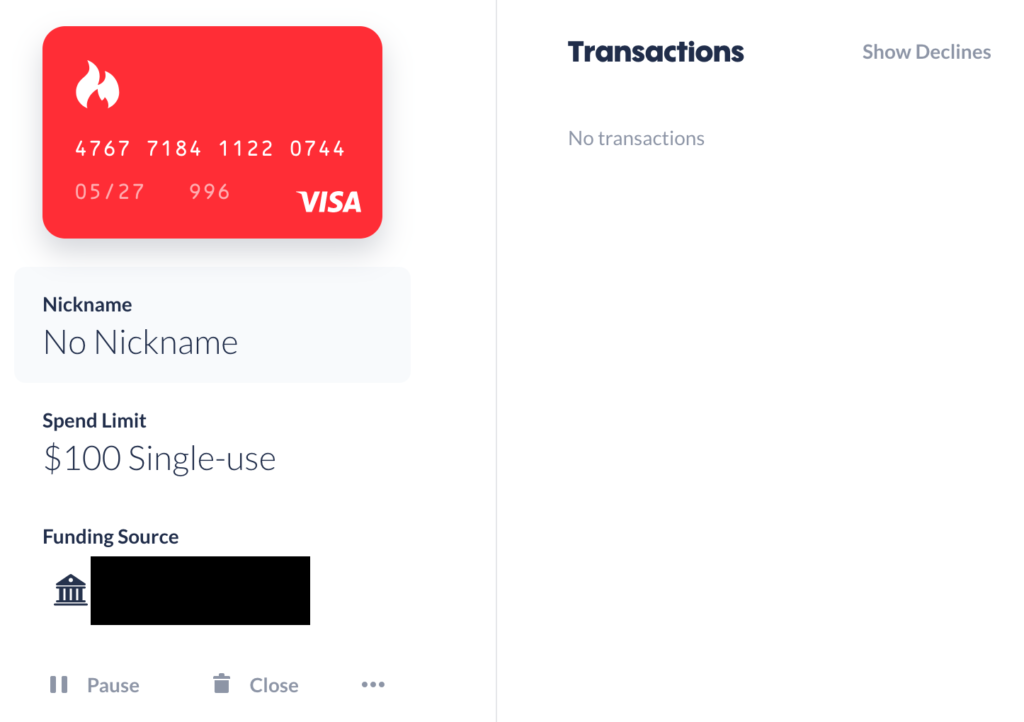
My Virtual Card (Don’t worry, I deleted it after creating it!)

Option 2: Virtual Account Numbers

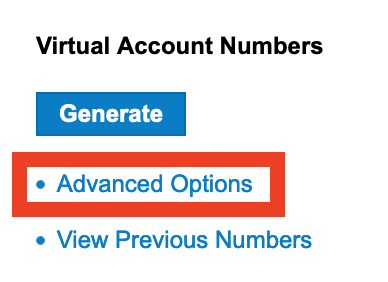
This option is dependent upon your Credit Card provider having this feature. Currently I know that CitiCard is working on an improvement to the usability of generating virtual card numbers. There is an existing method but it is rather clunky, outdated, and not very quick since it requires you to be logged into the CitiCard website to generate each virtual card number:

Benefits of Virtual Credit Cars

  • You can close the virtual card at any time or modify the spending limit.
  • If you are asked for a name/address when using the card, you can enter anything and the card won’t be rejected! (Privacy.com cards only)
  • There are small cash-back bonuses when using the privacy.com cards.(Privacy.com cards only)
  • When purchasing using a Privacy.com virtual card, even your own bank (issuer of the debit card) won’t know what, or from who you are purchasing! The transactions will show up in your bank like:

What, Why, When, and How Nextcloud

What is Nextcloud?

TLDR: A Nextcloud description is below, but why not just check out the demo!

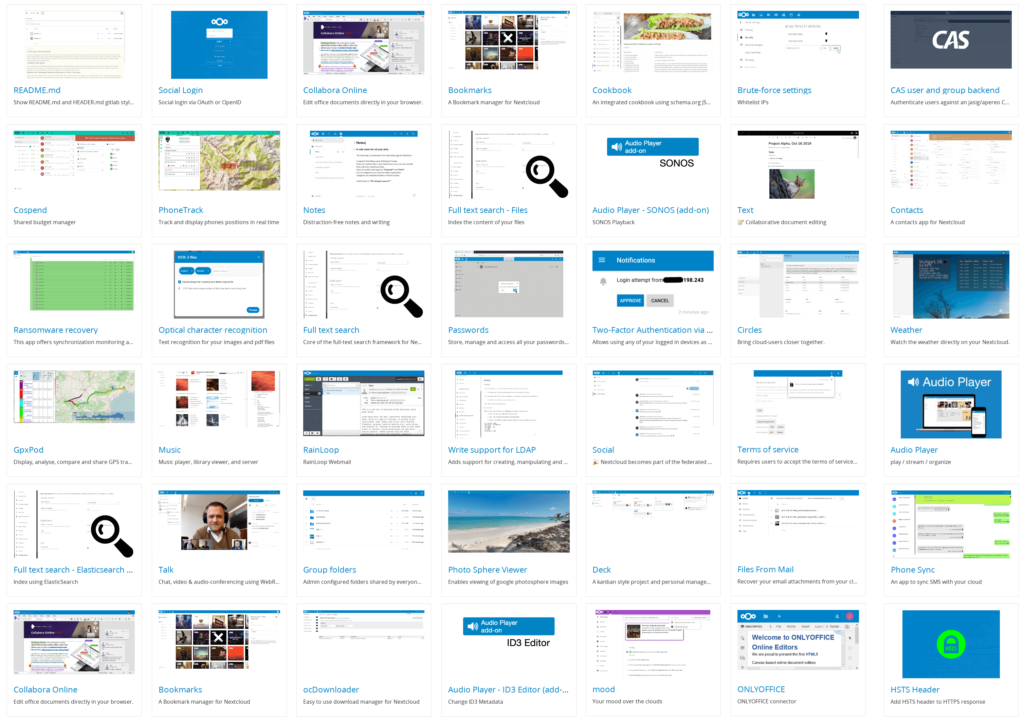
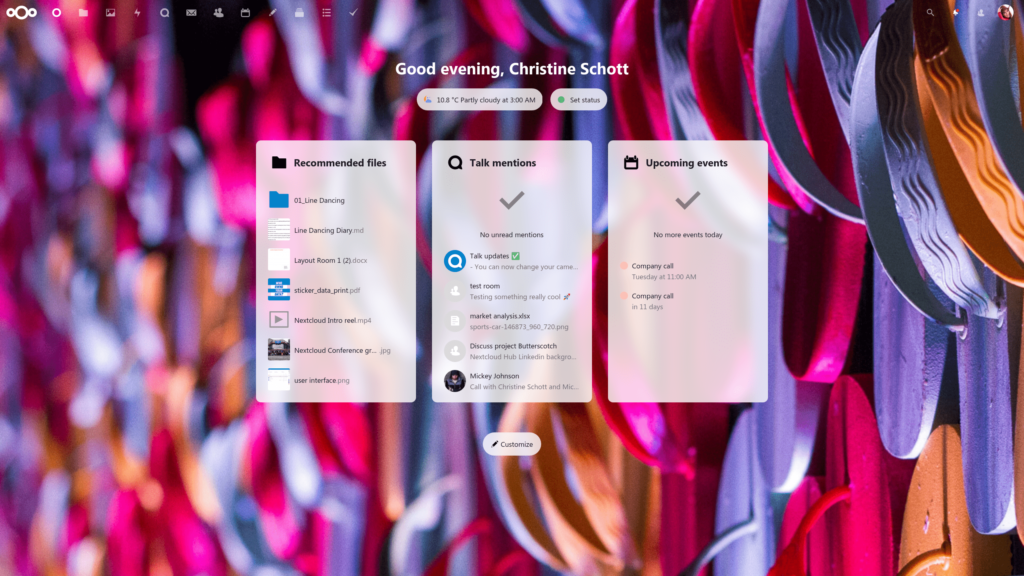
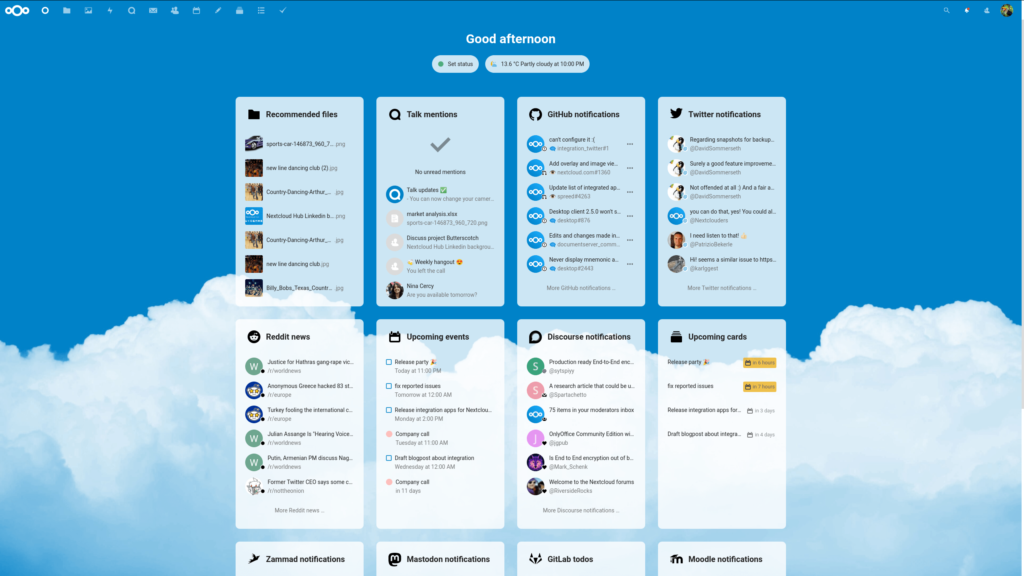
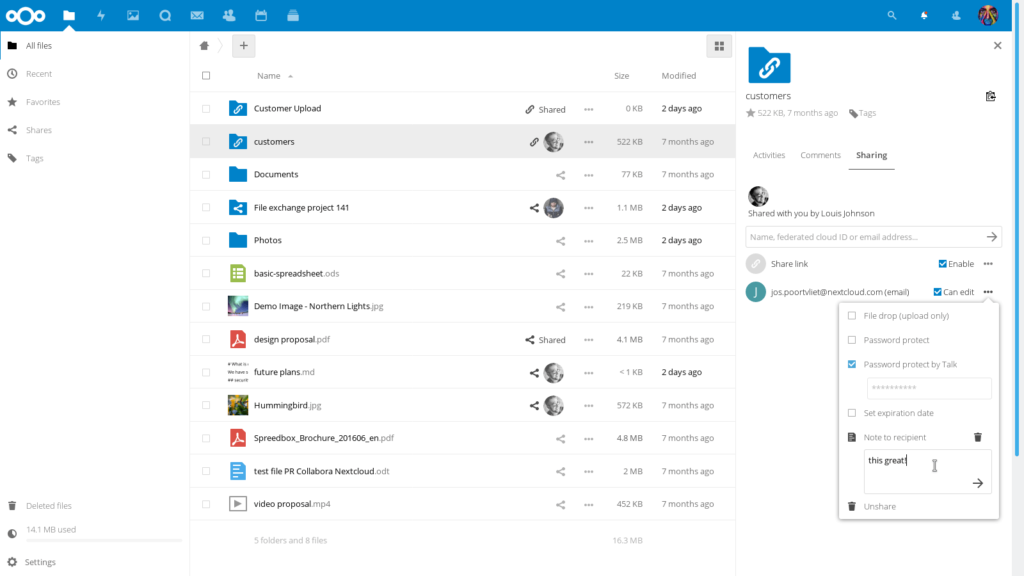
Nextcloud is a Free and Open Source Software (FOSS) that provides an enterprise grade all-in-one solution for file storage, collaboration, meetings, etc. Over the past few years Nextcloud has come a long way and is now my recommended solution for anyone seriously interested in hosting their own data with privacy and security in mind. Nextcloud is made up of many, many apps that can be installed as needed. Some of the apps include:

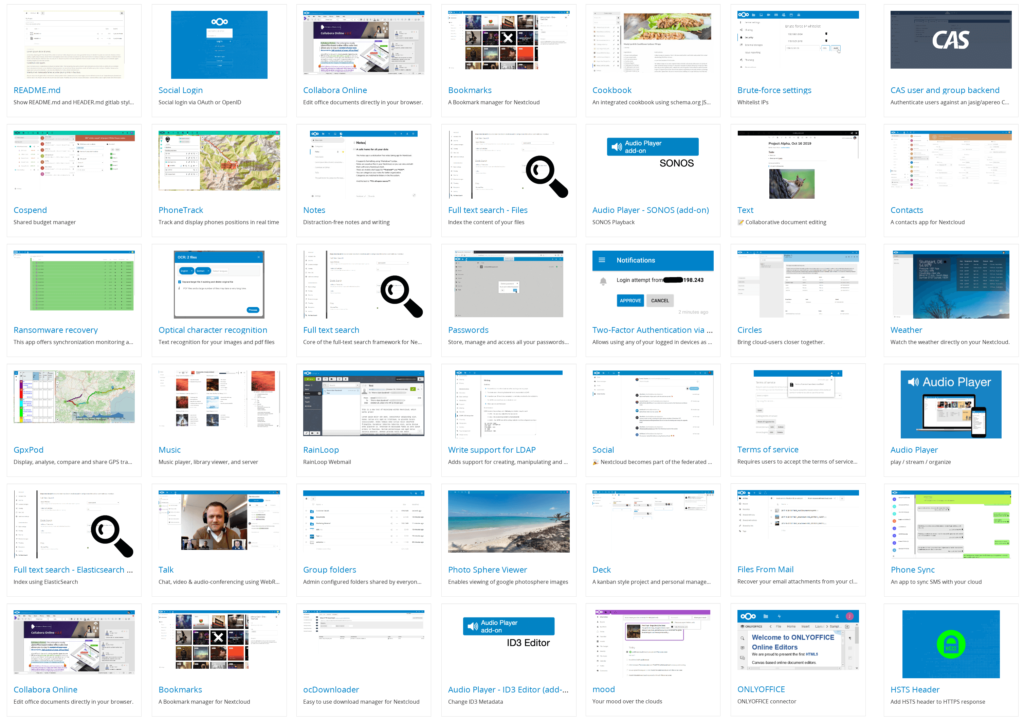
A sampling of a few Nextcloud apps
  • Files (This is installed by default and aids in storing/sharing/managing your files)
  • Calendar (This uses WebDav and can be synced to other devices more on this in a later post)
  • Tasks (This also can be synced using WebDav to other devices like MacOS/iOS Reminders)
  • Gallery (This helps with managing your photos in a centralized location)
  • Maps (Directions, pinning locations, mapping where your photos were taken, etc)
  • Contacts (Address book that uses WebDav to sync with other devices)
  • Bookmarks (Bookmark storage that can be synced to your browser using Floccus)
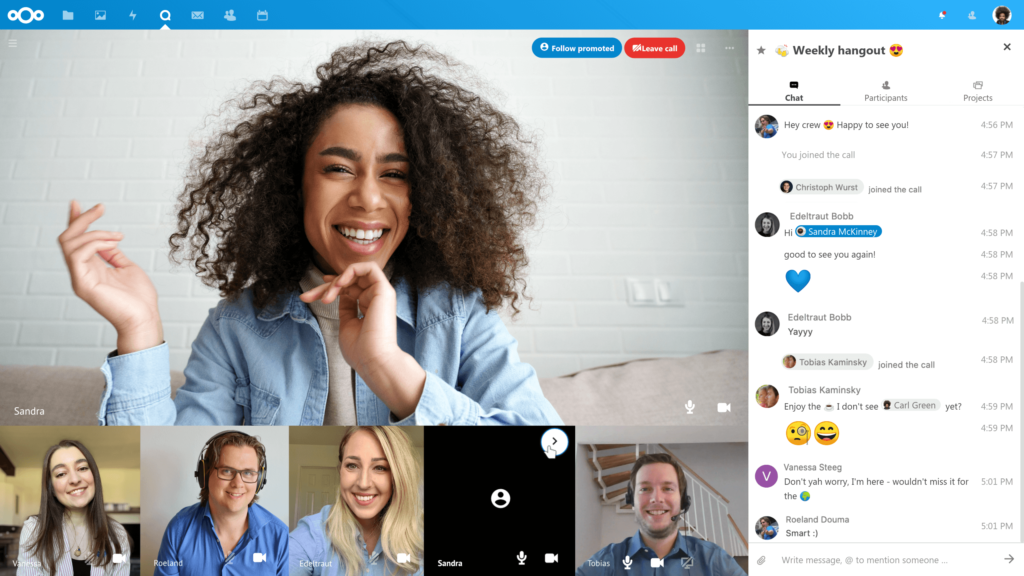
  • Talk (Meeting software like Zoom or Jitsi, no Nextcloud account needed to join calls!)
  • Mail (A very functional Mail client application with encryption, multiple accounts, etc)
  • Other features:
    • 2 Factor Authentication
    • File Sharing policies (timeframe, encryption options, public link expiration, etc)
    • LDAP user/group managment
    • Automated updates & Security audits
    • Forms
    • Polls
    • Project Management
    • Social Plugins
    • Password Manager
    • Many others (See the Nextcloud App Store)

Why Nextcloud?

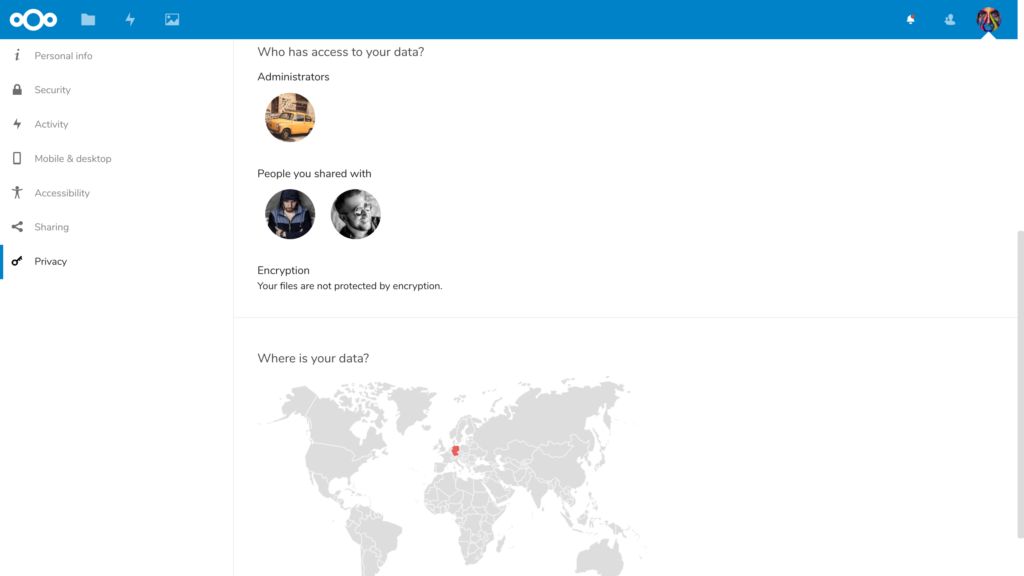
Why use Nextcloud? Simply put: data privacy. Nextcloud provides a private and secure vault for all your personal information. No need to worry about Google reading your emails and using your photos for machine learning purposes. No need to pay Dropbox or any other cloud storage company a monthly fee for storing your files on a server you have no control over. Nextcloud makes it easier to take responsibility for your own data so you know where it resides. If you’re still not convinced, check out Nextcloud’s reasoning.

When Nextcloud

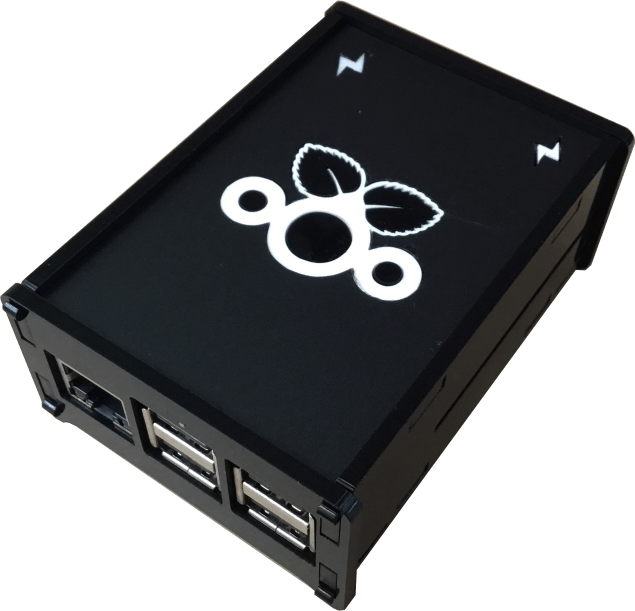
Given my bullish stance on Nextcloud, I would also like to make clear that Nextcloud isn’t for everyone. It does require some technical experience and a use case that is worth while. Nextcloud works best and is most enjoyable when it is used for more than just a few files. Casual or non-technical Nextcloud users would be better off signing up with a Nextcloud provider rather then self-hosting it since the providers will handle the configuration and hosting of the storage (this however does reduce your visibility in where and how your data is stored). An alternative to a cloud provider is to buy a dedicated, pre-configured piece of Nextcloud hardware with some tech support.

How Nextcloud

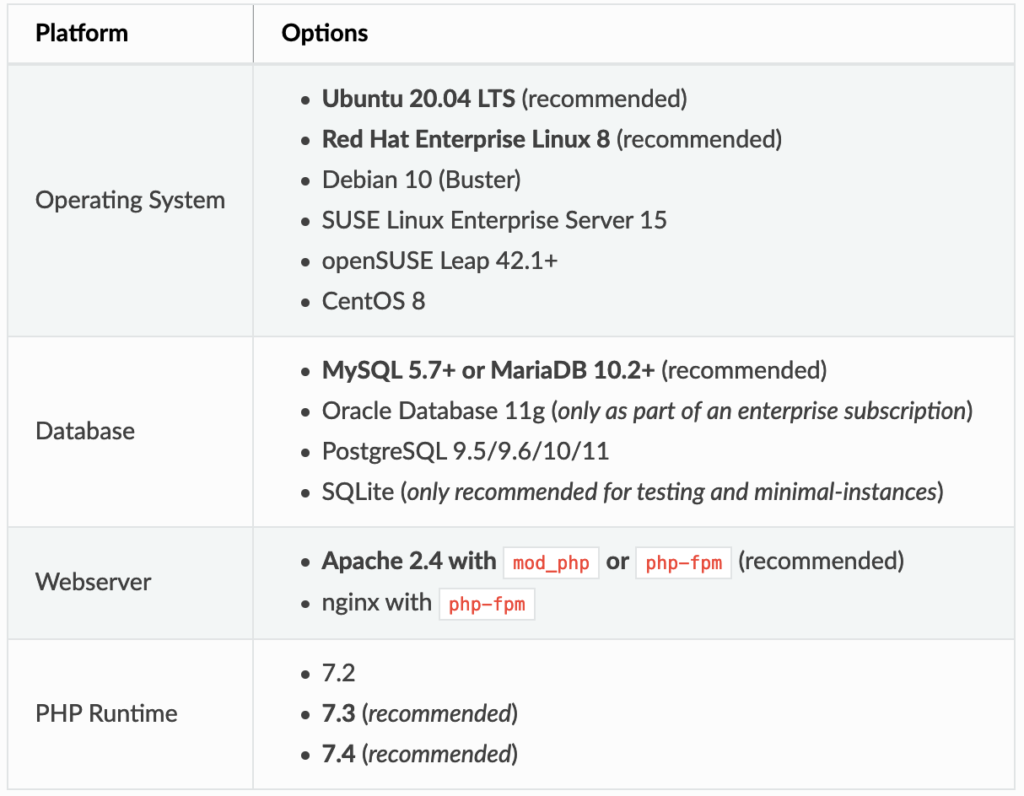
Requirements

Memory Required: 512MB

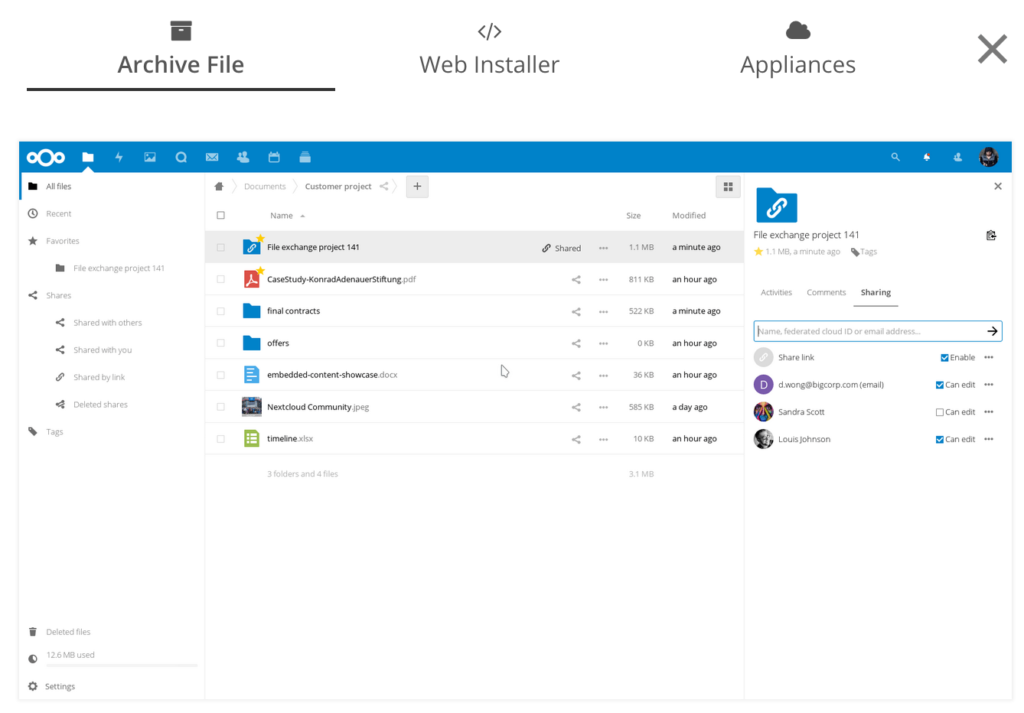
Nextcloud can be installed in a variety of ways. My preferred method is using the per-configured virtual appliance, but other methods include docker, Ubuntu snap, web-server script, archive extraction. Detailed installation instructions can be found in the Nextcloud Docs, but a simple rundown of the installation methods are listed below:

Appliance

Virtual Machine (My preferred method)

I prefer this method since it allows me to take easy snapshots/backups of the entire Nextcloud environment. This gives me peace of mind so I can be sure I can rollback to a point in time if anything goes wrong.

  1. Download the Virtual Machine (There are also advanced-configured VMs here)
  2. Setup a VM in your favorite Hypervisor (Proxmox, Hyper-V, VirtualBox, VMWare, etc)
  3. Import the downloaded Virtual Machine file and start the virtual machine (check the console)
  4. Login to the pre-configured Nextcloud instance and enjoy!

Appliance: Docker (Great for those already using Docker)

For those already using docker, this method may be appealing. I avoided this option primarily because it didn’t have a very clean docker-compose setup.

  1. On a docker-enabled machine run `docker run -d -p 8080:80 nextcloud`
  2. Alternatively, if you use docker-compose, start with this template:
version: '2'

volumes:
  nextcloud:
  db:

services:
  db:
    image: mariadb
    restart: always
    command: --transaction-isolation=READ-COMMITTED --binlog-format=ROW
    volumes:
      - db:/var/lib/mysql
    environment:
      - MYSQL_ROOT_PASSWORD=
      - MYSQL_PASSWORD=
      - MYSQL_DATABASE=nextcloud
      - MYSQL_USER=nextcloud

  app:
    image: nextcloud
    restart: always
    ports:
      - 8080:80
    links:
      - db
    volumes:
      - nextcloud:/var/www/html
    environment:
      - MYSQL_PASSWORD=
      - MYSQL_DATABASE=nextcloud
      - MYSQL_USER=nextcloud
      - MYSQL_HOST=db

Appliance: Ubuntu Snap (Easy for Beginners, but not recommended!)

This installation method is very easy but does have some drawbacks. From my experience, updates are slower to be released to the Nextcloud ubuntu snap distribution and often has issues with edge cases (I’ve noticed this with Collabora docs). It is also very difficult to migrate Nextcloud from a snap installation to a different installation method (I learned this the hard way!).

  1. Setup an ubuntu machine with snap enabled.
  2. Run `snap install nextcloud`
  3. Follow the installation steps and enjoy.

Web Installer (Good for C-Panel style web-hosting)

  1. Download the php script from the Nextcloud Site
  2. Upload the php scrip to your web server
  3. Point your browser to the php script
  4. Walk through the installation wizard (default user: ncadmin default password: nextcloud)
  5. Enjoy!

Manual Archive File Installation (Most Difficult)

  1. Download the Archive from the Nextcloud site
  2. Extract the archive file to an accessible location on your web server
  3. Configure Apache webserver
  4. Configure SSL
  5. Walk through installation wizard

Enjoy Nextcloud!

‘Don’t be Evil’ Isn’t enough for me!

Introduction to Home Assistant

Everyone likes home automation – if it works! We’ve all been excited about that smart switch or wireless light that we can control from anywhere in the world, but how great is it really? For a few ‘smart’ devices it may seem work well, but once you begin to accumulate more than a handful of devices you will quickly begin to realize that you have as many apps as you do smart devices and you will begin to start asking questions like:

  • Which app controls which device?
  • Do I have to download all these apps for each member of my family?
  • Wouldn’t it be nice if I could control all my smart devices with a single app?
  • Why can’t I connect my smart devices together?

All of these questions can be answered with a tool called Home Assistant. In the most basic of terms, Home Assistant is a tool that pulls all of your smart devices into a single app. I will save the details of Home Assistant future posts, but it aims to do the following and much more:

  • Be Free and Open Source (FOSS)
  • Improve your privacy by reducing the need for internet based cloud services
  • Control all the smart devices in your home from a central location
  • Connect smart devices in your home in order to trigger perform actions like: When there is motion in the hallway, turn on the light
  • Provide a single app (web or mobile) to control and manage all your smart devices

Home Assistant may not be the ‘silver bullet’ for every situation, but I am willing to say that it is unequivocally the best home automation solution available today (as of 2020). Anyone interested in taking the next step in home automation should consider Home Assistant. Stay tuned and in the near future we will be discussing how to get started using this great tool, and why it is (in my opinion) superior, but friendly with other alternatives like Hubitat, SmartThings, and HomeKit.

white and gray Google smart speaker and two black speakers
Photo by Sebastian Scholz (Nuki) on Unsplash

(Full disclosure: I was not paid or in any way incentivized to speak so highly of Home Assistant)