Self-Host Your Browser Data

Overview

For a while now I have been looking for a self-hosted, cross-platform solution that would allow me to sync my browser data (specifically bookmarks and history) between different devices. In the past I’ve used some of the following but have not been entirely satisfied for a number of reasons:

  • iCloud
    • Not self-hosted
    • Required extension (if not using Safari)
    • Did not sync history (if syncing to windows machine)
  • Xmarks
    • Not self-hosted
    • Did not sync history
    • Required extension on all browsers
    • Not mobile-friendly
  • Floccus
    • ✅ Self Hosted
    • Did not sync history
    • Requires extension on all browsers
    • Not mobile-friendly
    • Great for sharing bookmarks with others (Can use Nextcloud as storage)

Firefox Sync Server

Recently I discovered Firefox Sync Server which is an official self-hosted implementation of Mozilla’s sync service for syncing all Firefox account information. Although development on this is low priority, I have proved it to be reliable and well worth the effort to setup. Once configured, all my dreams come true:

  • ✅ Self Hosted & Free!
  • ✅ Cross-platform clients (requires the use of Firefox browsers – which I prefer anyway!)
  • ✅ Mobile Friendly
  • ✅ Syncs any or all of the following: Bookmarks, History, Tabs, Addresses, Credit Cards, Add-Ons, and Firefox Settings

Configure the Server

There are a few different ways to run the Firefox Sync Server but I found Docker-Compose to be the easiest way to get up and running quickly:

1. Setup docker (not covered in this post)
2. Create a new docker-compose (or stack):

version: '3.7'
services:
    syncserver:
        container_name: firefox_syncserver
        image: mozilla/syncserver:latest
        volumes:
            - data:/data
        ports:
            - 5000:5000
        environment:
            SYNCSERVER_PUBLIC_URL: 'https://firefoxsyncserver.your_domain.com'
            SYNCSERVER_SECRET: 'add_a_random_secret_text'
            SYNCSERVER_SQLURI: 'sqlite:////data/syncserver.db'
            SYNCSERVER_BATCH_UPLOAD_ENABLED: 'true'
            SYNCSERVER_FORCE_WSGI_ENVIRON: 'true'
            PORT: '5000'
        restart: always
        
volumes:
    data:

3. Setup remote access to the service. My preferred way is to use a reverse proxy lik NGINXProxyManager.
At minimum you need:
– A static ip or an externally accessible domain (if you don’t have one, you can get one via DuckDNS)
– Port forward the desired port to your Firefox Sync Server

4. Start/deploy the docker container/stack and navigate to the SYNCSERVER_PUBLIC_URL defined in the compose file to verify that the service is running correctly:

Setup Client Browsers

In order to use your self-hosted Firefox Sync Server you will need to configure each client to use your custom sync server:

Desktop Client

Changing the sync server on Firefox desktop is easy:

1. In your address bar navigate to: about:config

2. Search for: identity.sync.tokenserver.uri and modify the value to match the SYNCSERVER_PUBLIC_URL defined in the compose with an additional path of /token/1.0/sync/1.5

3. Sign into your Firefox Account as normal – This is only to authenticate – not to store your browser data. (You can also host your own Firefox Account Server, but that is out of the scope of this post).

4. Attempt to sync. The sync should take at least a few seconds – if it completes immediately, there may be an issue. To tell if the sync properly saved your browser data to your personal server, you can navigate to about:sync-log and browse the log files to make sure your sync server is being referenced instead of the default firefox sync server.

iOS Client

Changing the sync server on Firefox iOS is also easy:

1. Open the iOS Firefox app and navigate to Settings.

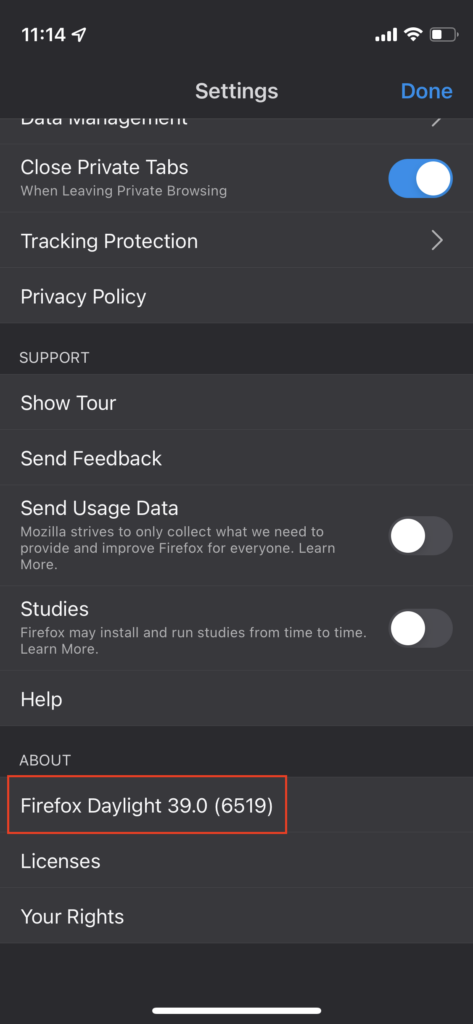
2. Scroll to the bottom of the settings pane and tap on “Firefox Daylight” five times quickly (This will enable the advanced/debug menu):

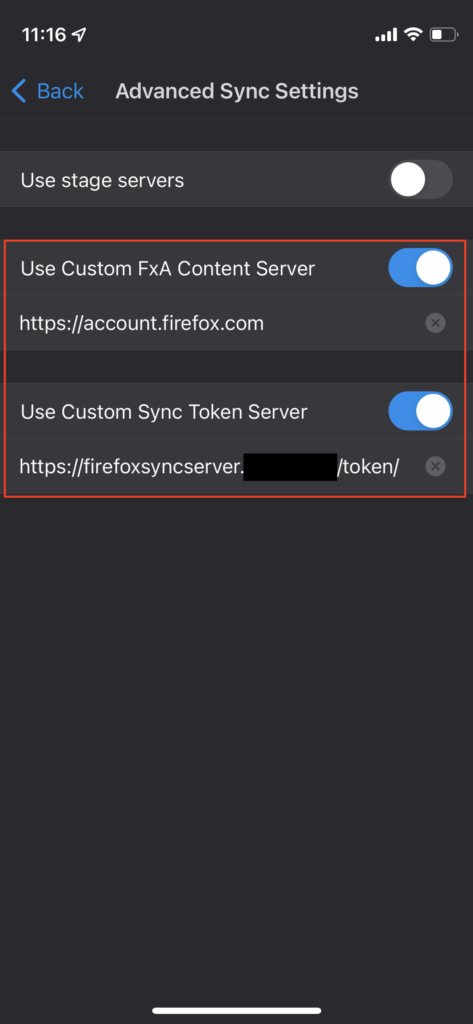
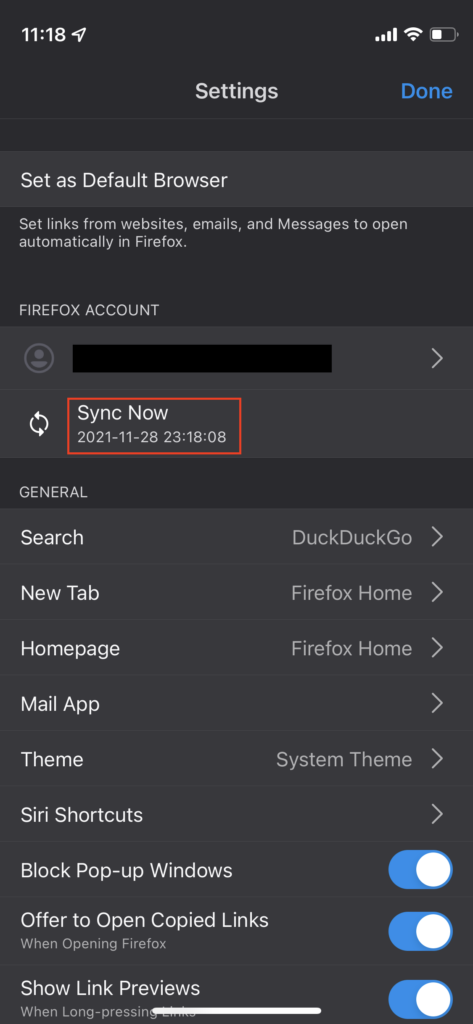
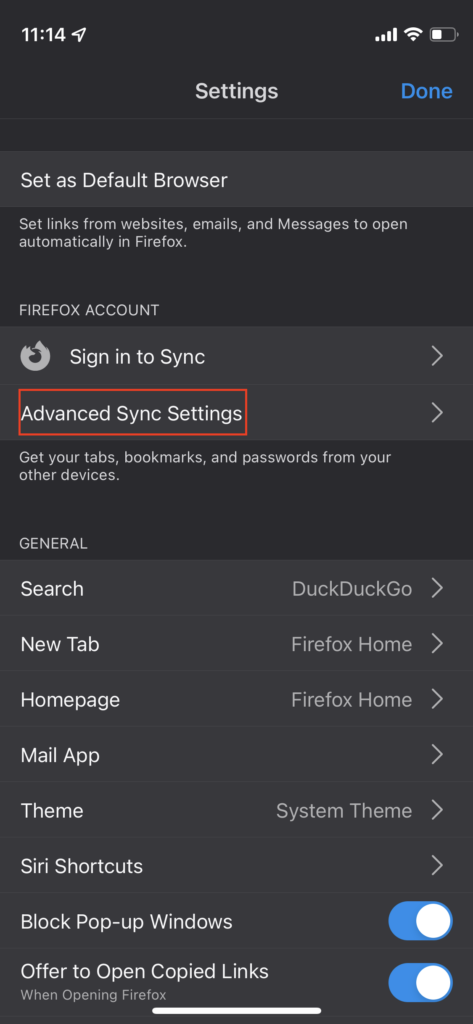
3. Setup the advanced settings according to the screenshots below (be sure to only include the /token/ path for the token server url – you do not need to additional `/1.0/sync/1.5` path that is needed for Firefox desktop. ALSO instead of the url in the screenshot, use accountS.firefox.org for the FxA server (note the S).

4. Sign into your Firefox Account (again this is only used to authenticate – not to store your browser data).

5. Sync your browser data, and confirm that you can see the changes on your other clients that are synced to your same Firefox Sync Server.
Decloud

Once you feel satisfied that your sync server is working correctly and that you have proper backups in place to prevent data loss, go ahead and remove your other sync solutions like (iCloud, Xmarks, etc) and delete the data stored on any of those cloud services. You’re in control of your data now!

~ Don’t litter! – That includes your personal data on the internet!

Uptime Kuma

Overview

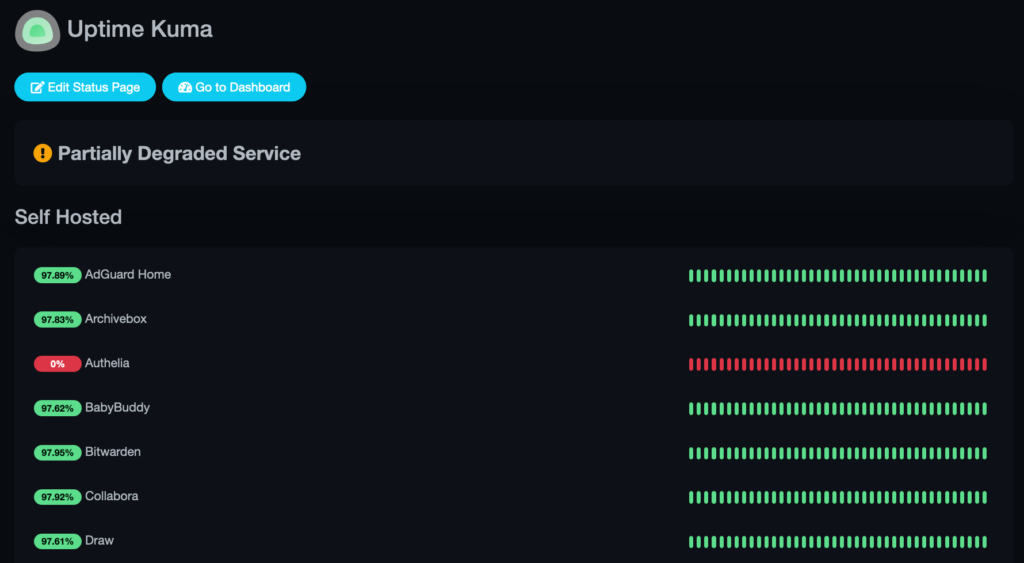
Uptime Kuma is a ‘fancy’ self-hosted monitoring service that can be used to create your very own status page of any services you would like to monitor. Initial configuration and setting up monitors is very easy.

Setting Up Uptime Kuma

The preferred method for setting up Uptime Kuma is Docker. And to make the setup in docker even easier, I like to use Portainer:

Create a new stack in Portainer:

version: '3.3'

services:
  uptime-kuma:
    image: louislam/uptime-kuma
    container_name: uptimekuma
    restart: always
    volumes:
      - data:/app/data
    ports:
      - 3001:3001

volumes:
  data:

Start the Stack and Log In

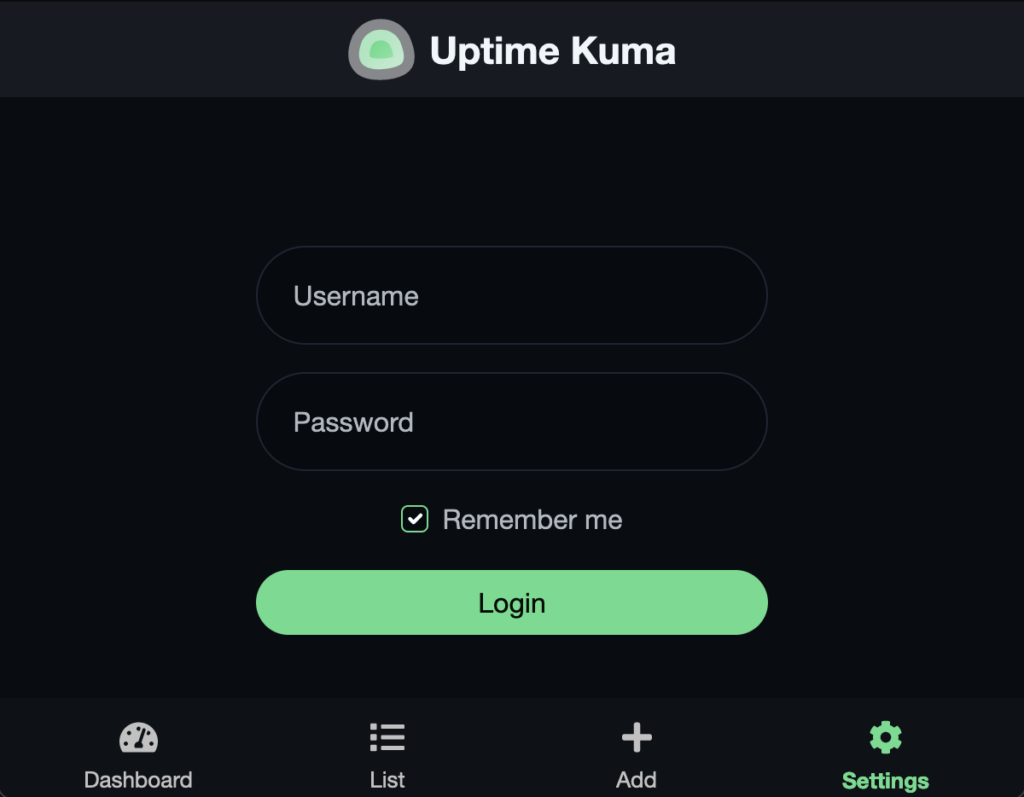
Login Page

Add Monitors

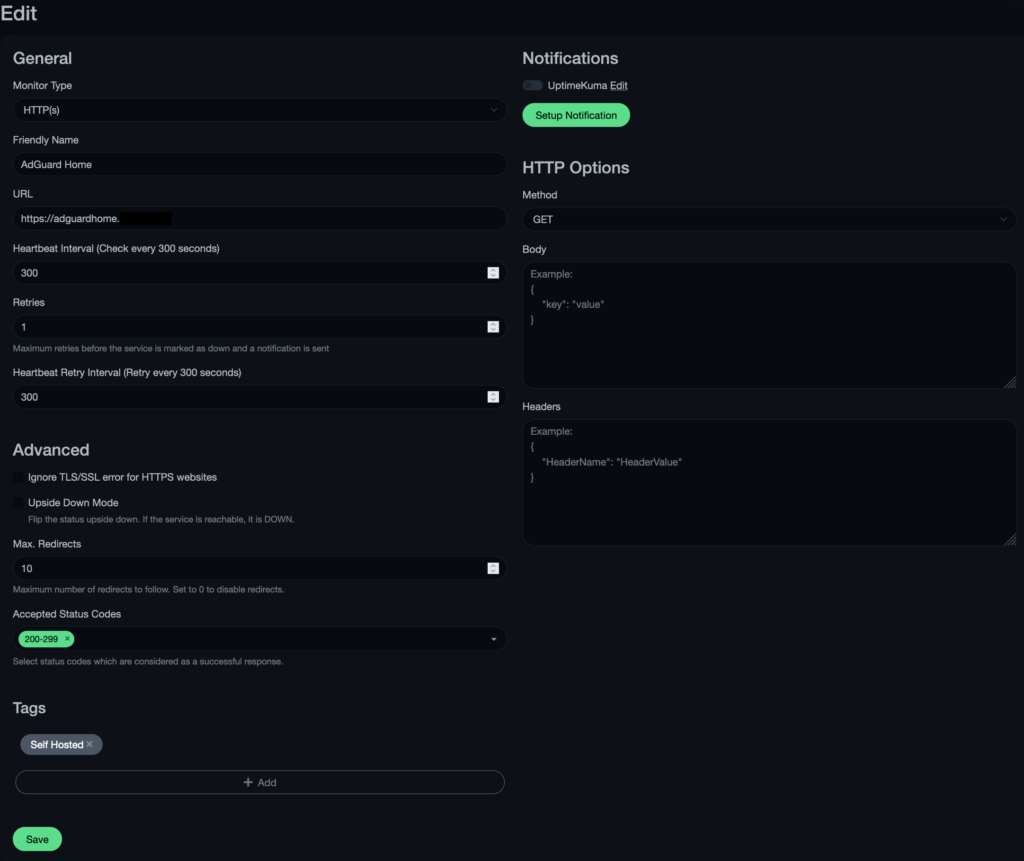
Sample HTTP Monitor

Bonus

You can use a reverse proxy like NGINXProxyManager to fetch an SSL cert and expose the Uptime Kuma service publicly:

What, Why, When, and How Nextcloud

What is Nextcloud?

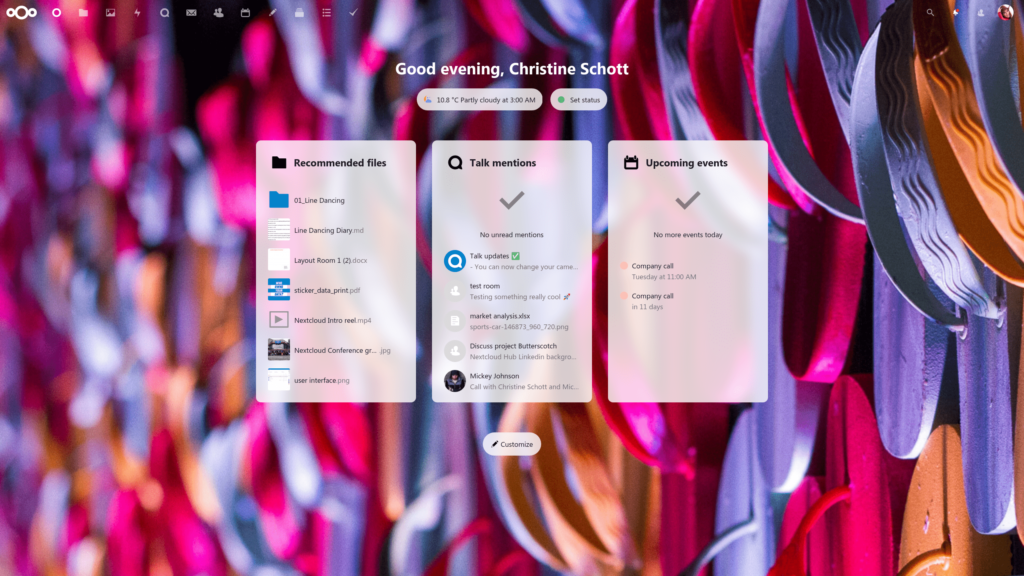
TLDR: A Nextcloud description is below, but why not just check out the demo!

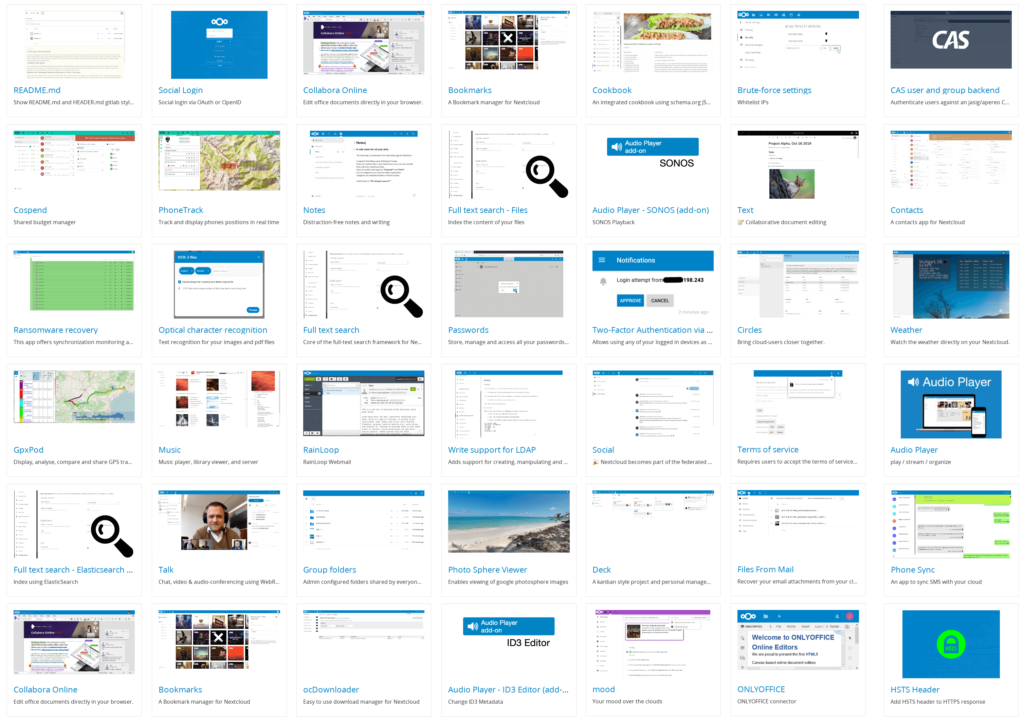
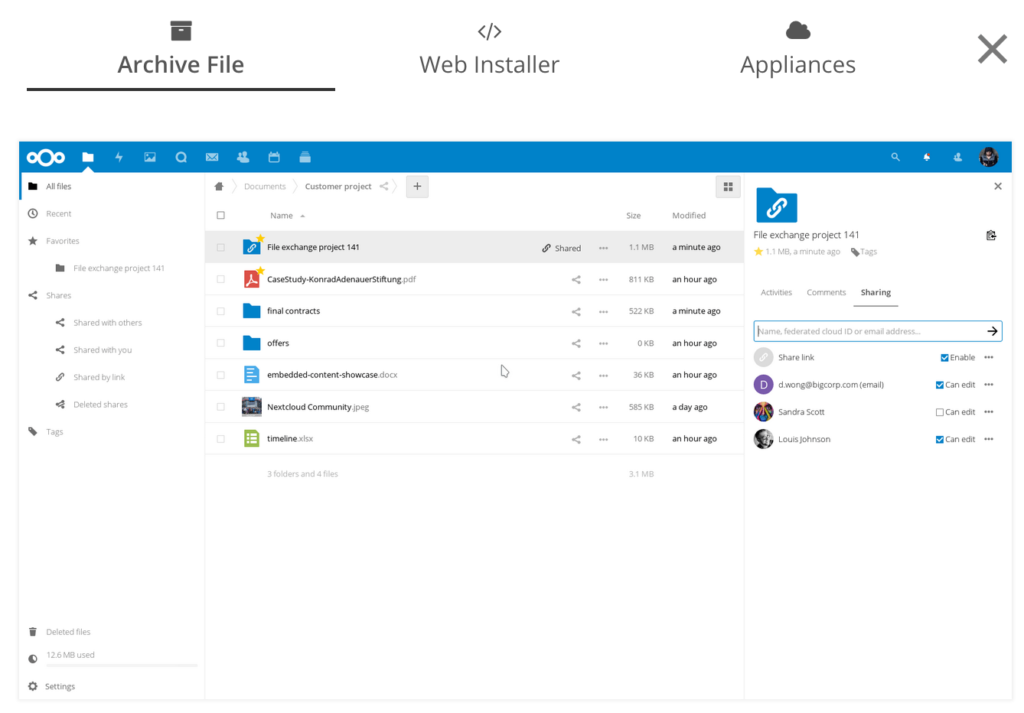
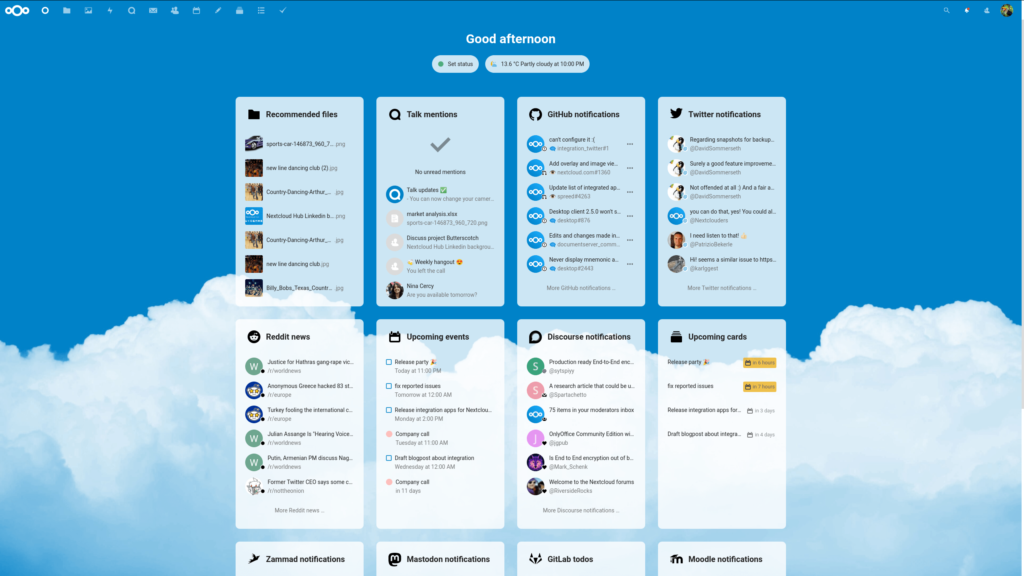
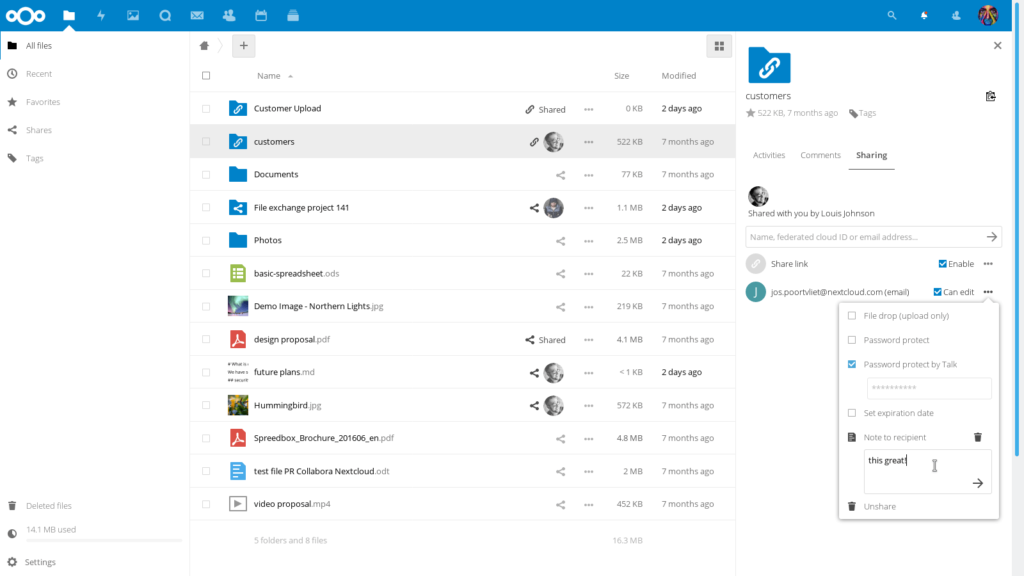
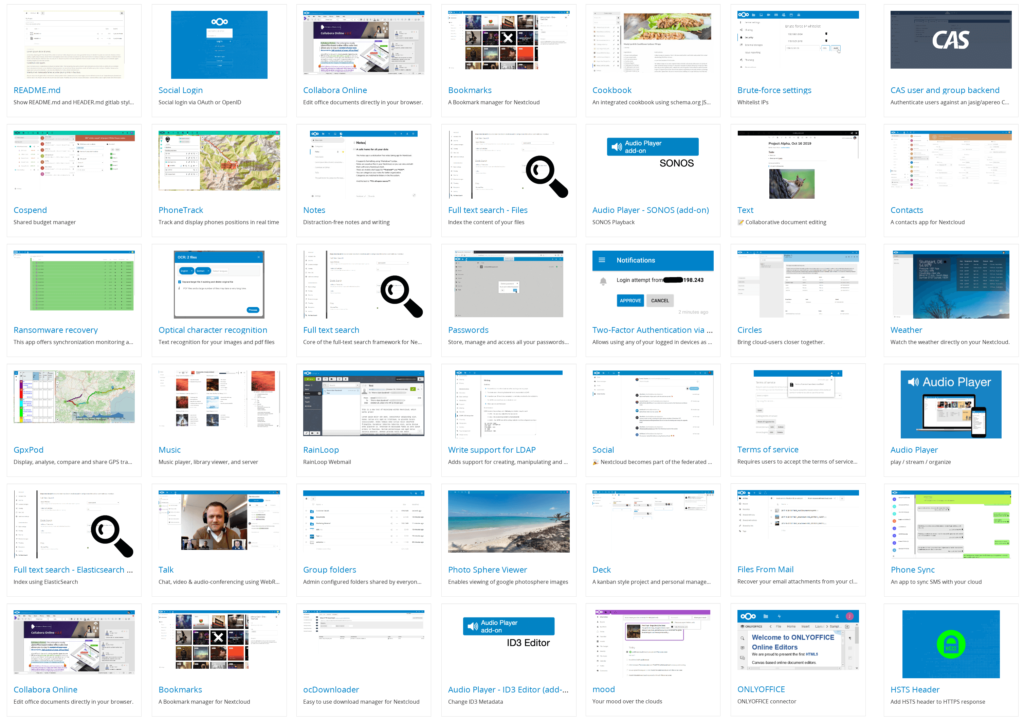
Nextcloud is a Free and Open Source Software (FOSS) that provides an enterprise grade all-in-one solution for file storage, collaboration, meetings, etc. Over the past few years Nextcloud has come a long way and is now my recommended solution for anyone seriously interested in hosting their own data with privacy and security in mind. Nextcloud is made up of many, many apps that can be installed as needed. Some of the apps include:

A sampling of a few Nextcloud apps
  • Files (This is installed by default and aids in storing/sharing/managing your files)
  • Calendar (This uses WebDav and can be synced to other devices more on this in a later post)
  • Tasks (This also can be synced using WebDav to other devices like MacOS/iOS Reminders)
  • Gallery (This helps with managing your photos in a centralized location)
  • Maps (Directions, pinning locations, mapping where your photos were taken, etc)
  • Contacts (Address book that uses WebDav to sync with other devices)
  • Bookmarks (Bookmark storage that can be synced to your browser using Floccus)
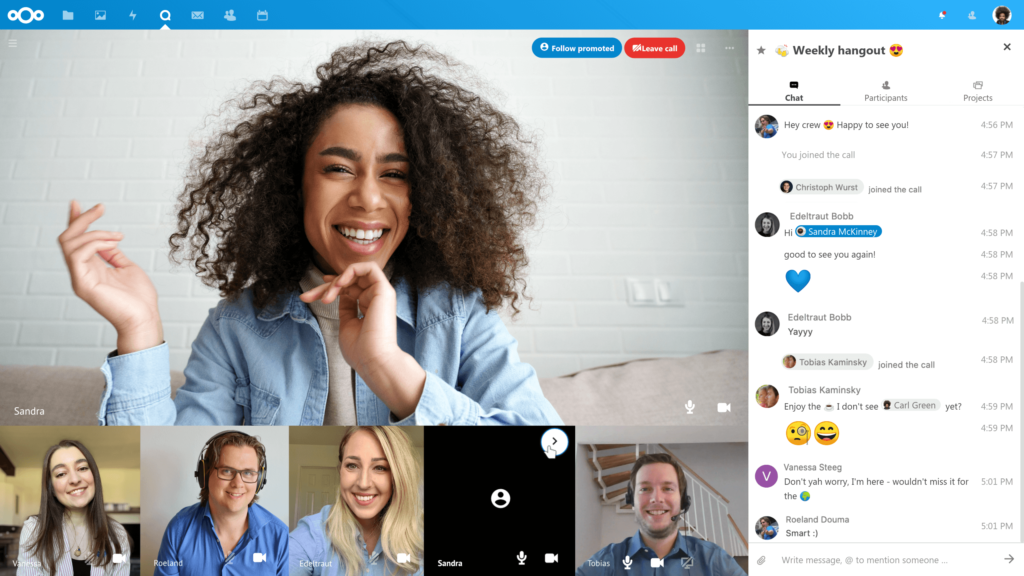
  • Talk (Meeting software like Zoom or Jitsi, no Nextcloud account needed to join calls!)
  • Mail (A very functional Mail client application with encryption, multiple accounts, etc)
  • Other features:
    • 2 Factor Authentication
    • File Sharing policies (timeframe, encryption options, public link expiration, etc)
    • LDAP user/group managment
    • Automated updates & Security audits
    • Forms
    • Polls
    • Project Management
    • Social Plugins
    • Password Manager
    • Many others (See the Nextcloud App Store)

Why Nextcloud?

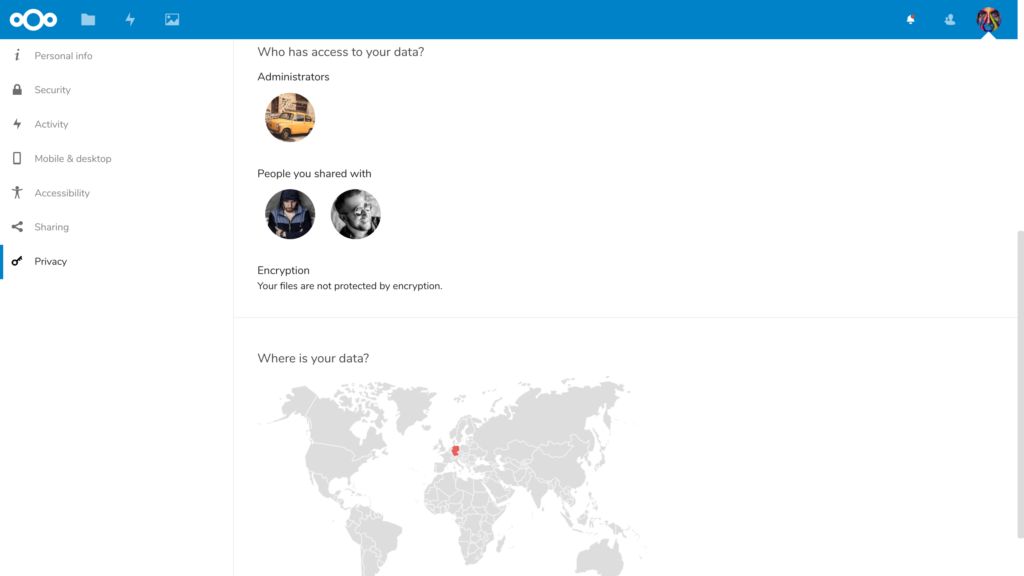
Why use Nextcloud? Simply put: data privacy. Nextcloud provides a private and secure vault for all your personal information. No need to worry about Google reading your emails and using your photos for machine learning purposes. No need to pay Dropbox or any other cloud storage company a monthly fee for storing your files on a server you have no control over. Nextcloud makes it easier to take responsibility for your own data so you know where it resides. If you’re still not convinced, check out Nextcloud’s reasoning.

When Nextcloud

Given my bullish stance on Nextcloud, I would also like to make clear that Nextcloud isn’t for everyone. It does require some technical experience and a use case that is worth while. Nextcloud works best and is most enjoyable when it is used for more than just a few files. Casual or non-technical Nextcloud users would be better off signing up with a Nextcloud provider rather then self-hosting it since the providers will handle the configuration and hosting of the storage (this however does reduce your visibility in where and how your data is stored). An alternative to a cloud provider is to buy a dedicated, pre-configured piece of Nextcloud hardware with some tech support.

How Nextcloud

Requirements

Memory Required: 512MB

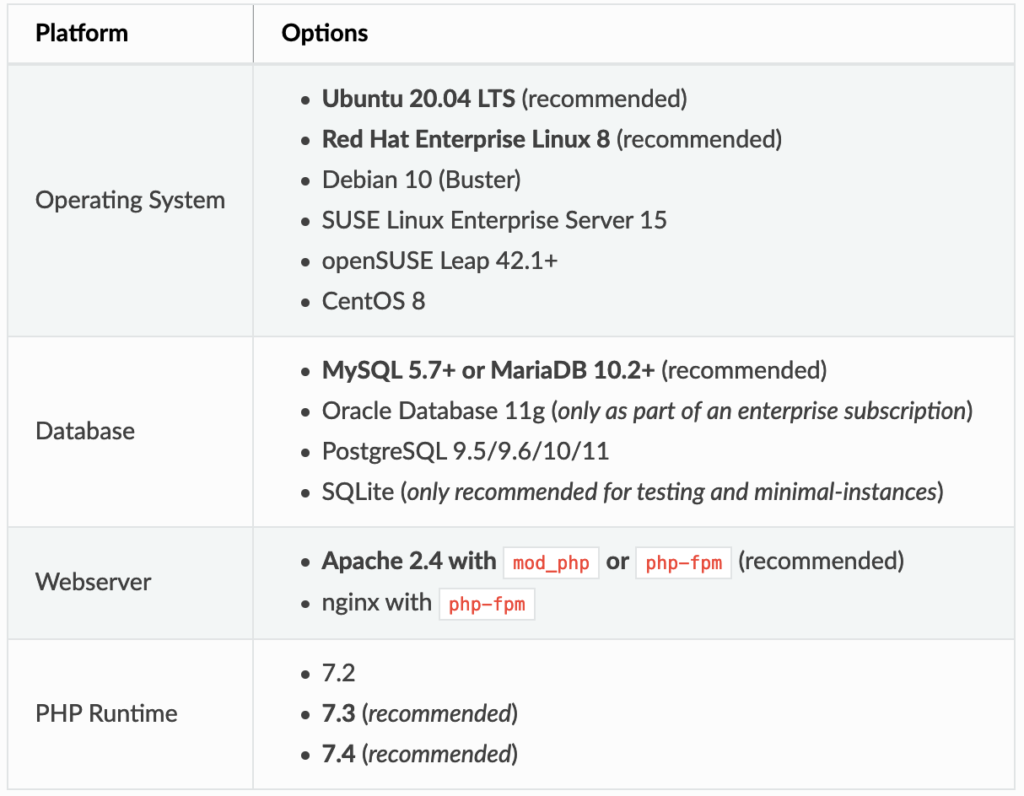
Nextcloud can be installed in a variety of ways. My preferred method is using the per-configured virtual appliance, but other methods include docker, Ubuntu snap, web-server script, archive extraction. Detailed installation instructions can be found in the Nextcloud Docs, but a simple rundown of the installation methods are listed below:

Appliance

Virtual Machine (My preferred method)

I prefer this method since it allows me to take easy snapshots/backups of the entire Nextcloud environment. This gives me peace of mind so I can be sure I can rollback to a point in time if anything goes wrong.

  1. Download the Virtual Machine (There are also advanced-configured VMs here)
  2. Setup a VM in your favorite Hypervisor (Proxmox, Hyper-V, VirtualBox, VMWare, etc)
  3. Import the downloaded Virtual Machine file and start the virtual machine (check the console)
  4. Login to the pre-configured Nextcloud instance and enjoy!

Appliance: Docker (Great for those already using Docker)

For those already using docker, this method may be appealing. I avoided this option primarily because it didn’t have a very clean docker-compose setup.

  1. On a docker-enabled machine run `docker run -d -p 8080:80 nextcloud`
  2. Alternatively, if you use docker-compose, start with this template:
version: '2'

volumes:
  nextcloud:
  db:

services:
  db:
    image: mariadb
    restart: always
    command: --transaction-isolation=READ-COMMITTED --binlog-format=ROW
    volumes:
      - db:/var/lib/mysql
    environment:
      - MYSQL_ROOT_PASSWORD=
      - MYSQL_PASSWORD=
      - MYSQL_DATABASE=nextcloud
      - MYSQL_USER=nextcloud

  app:
    image: nextcloud
    restart: always
    ports:
      - 8080:80
    links:
      - db
    volumes:
      - nextcloud:/var/www/html
    environment:
      - MYSQL_PASSWORD=
      - MYSQL_DATABASE=nextcloud
      - MYSQL_USER=nextcloud
      - MYSQL_HOST=db

Appliance: Ubuntu Snap (Easy for Beginners, but not recommended!)

This installation method is very easy but does have some drawbacks. From my experience, updates are slower to be released to the Nextcloud ubuntu snap distribution and often has issues with edge cases (I’ve noticed this with Collabora docs). It is also very difficult to migrate Nextcloud from a snap installation to a different installation method (I learned this the hard way!).

  1. Setup an ubuntu machine with snap enabled.
  2. Run `snap install nextcloud`
  3. Follow the installation steps and enjoy.

Web Installer (Good for C-Panel style web-hosting)

  1. Download the php script from the Nextcloud Site
  2. Upload the php scrip to your web server
  3. Point your browser to the php script
  4. Walk through the installation wizard (default user: ncadmin default password: nextcloud)
  5. Enjoy!

Manual Archive File Installation (Most Difficult)

  1. Download the Archive from the Nextcloud site
  2. Extract the archive file to an accessible location on your web server
  3. Configure Apache webserver
  4. Configure SSL
  5. Walk through installation wizard

Enjoy Nextcloud!

‘Don’t be Evil’ Isn’t enough for me!

What, Why & How Zoneminder?

What is Zoneminder

Zoneminder is a Free Open Source Software (FOSS) Network Video Recorder (NVR). It is claims to be one of the most advanced and scalable video surveillance systems available. It provides an API that can be used via a web interface, a mobile app, or third party software. Out of the box
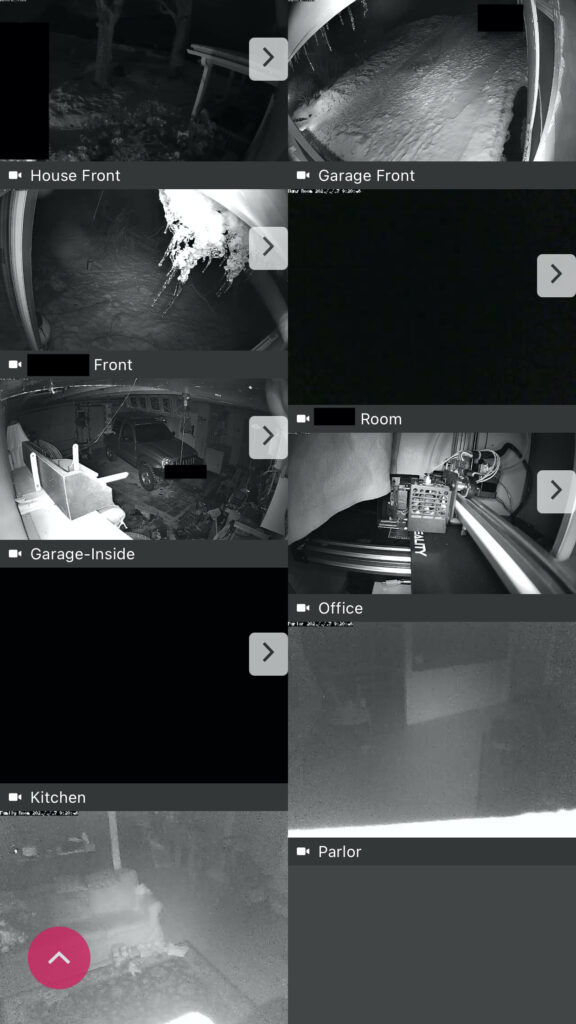
Zoneminder offers a simple camera viewer, motion detection, event notifications, and much more. Since a picture is worth a thousand words, here’s what a ‘montage’ view on Zoneminder looks like (via the iOS app and the web view).

The Mobile App (ZmNinja) is also open source. It can be compiled or purchased on the AppStore for around $6. It offers a very elegant and full-featured interface to mange cameras, view events, and receive push notifications to mention a few.

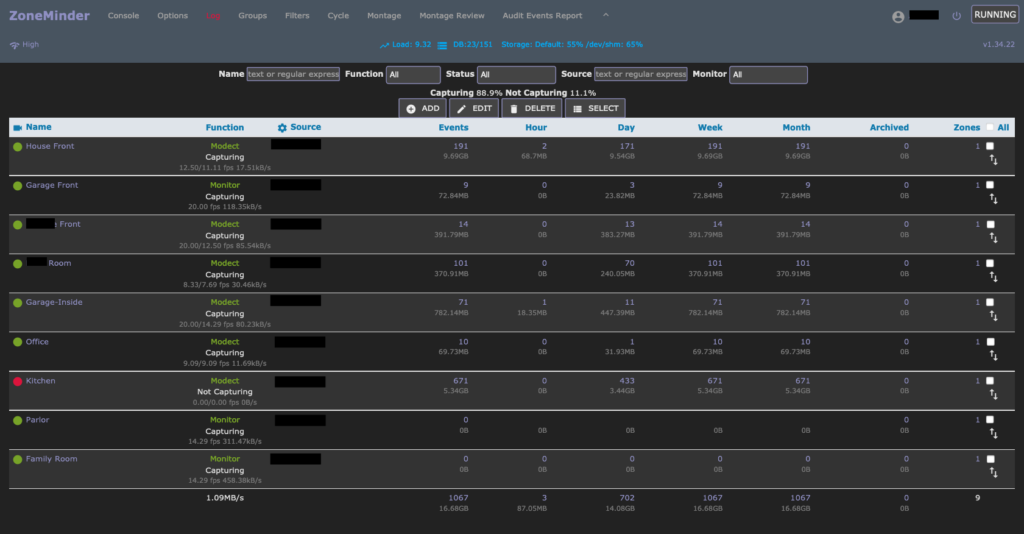
This screenshot of the web view shows a list of connected cameras, their configurations, and events. A ‘montage’ camera stream view similar to the iOS view is also available.

Why use Zoneminder?

  • It’s Open Source! If you’ve read any of my other posts, I’m a huge proponent of Free & Open Source Software (FOSS). Open Source means the software can be trusted to not include nasty key loggers and other privacy invasive features (I’ll admit I rarely verify this myself).
  • It’s Free! Since Zoneminder is free (and always will be) it is worth trying!)
  • It’s feature rich! It lacks very little (if any) features that commercial NVR systems offer.
  • It’s relatively easy to install (See below for installation/configuration details)
  • It’s locally controlled! (No cloud needed – or wanted!
  • It has an optional Open Source mobile App (Approx. $6 if you buy it on the AppStore)
  • It’s hardware efficient (IMO – It seems to require less resources than alternatives).
  • It has a Home Assistant integration!

If the above reasons aren’t enough to convince you to give Zoneminder a try, I can tell you from experience that I’ve tried most of the other alternatives to Zoneminder (MotionEye, BlueIris, AgentDVR) and have found Zoneminder to be superior in most respects (although a bit more advanced to setup – see below). I don’t mean to be critical, but below I will list my main complaints about the alternatives I’ve listed. If I’ve forgotten about other good alternatives, pleas let me know in the comments!

  • MotionEye
    • Seemed to be quite resource hungry
    • No mobile app (although web interface is quite reasonable)
    • Did not seem very scalable (more than 4 cameras seemed to be buggy for me)
  • BlueIris
    • Currently Windows Only as of 2021
    • Not Free ($65 as of 2021)
    • Not Open Source
  • AgentDVR
    • Subscription required for advanced features and updated via web GUI
    • Requires a web account for some features
    • Requires webRTC (a technology I’m not a huge fan of)
    • No mobile App (although webGUI is quite reasonable)

How Zoneminder?

I’ll admit that Zoneminder can seem daunting to setup for someone not very tech-savvy, and may not be the best choice for someone with no knowledge of linux or command line experience. For most people that are reading this they probably already have enough tech knowledge or are willing to learn how to setup Zoneminder. There are a variety of ways to setup Zoneminder, but since I already use Docker, it was definitely the easiest path for me and the one I will outline below:

Install Docker Engine

If you don’t already have the docker engine installed, you’ll need to install it via the terminal or via a Docker Desktop application. Once installed you will have access to the docker terminal command.

Install Docker-Compose

Although docker-compose isn’t technically required, it does make running docker containers much more manageable and repeatable (if the physical computer you have docker on crashes). Follow the official documentation to install docker-compose.

Create your docker-compose file.

Create a directory somewhere called docker-compose (mine is located at ~/docker-compose). Inside that directory create a file named docker-compose.yaml and in a text editor modify the file to look like the following (If you want to access Zoneminder on a port other than 80, modify the first ’80’ in the ports section, otherwise, leave it as is).

version: "3"
services:

  # Zoneminder Docker-Compose Configuration
  zoneminder:
      container_name: zoneminder
      restart: always
      image: dlandon/zoneminder
      network_mode: bridge
      privileged: false
      shm_size: 1gb
      ports:
          - '80:80/tcp'
          - '9000:9000/tcp'
      environment:
          - TZ=America/New_York
          - PUID=99
          - PGID=100
          - INSTALL_HOOK=0
          - INSTALL_FACE=0
          - INSTALL_TINY_YOLOV3=0
          - INSTALL_YOLOV3=0
          - INSTALL_TINY_YOLOV4=0
          - INSTALL_YOLOV4=0
          - MULTI_PORT_START=0
          - MULTI_PORT_END=0
      volumes:
          - zoneminder_config:/config:rw
          - zoneminder_data:/var/cache/zoneminder:rw

volumes:
  # Zoneminder docker volumes (located in /var/lib/docker/volumes)
  zoneminder_config:
  zoneminder_data:

That’s about it, now we should be able to run Zoneminder! A few optional notes before we try it:

  • The configuration above will automatically start Zoneminder whenever the host machine (your computer, or the Proxmox Virtual Machine in my case – stay tuned for some Proxmox tutorials!) is started.
  • The configuration above can also be modified to also run a ZoneminderEventNotification, object detection server, and more. Basically you just need to change the 0’s to 1’s (note if you do this it could take hours on the first start of Zoneminder since it will need to compile dependencies).

Running Zoneminder!

To start Zoneminder we just need to tell docker to run our docker-compose file which will run any containers defined in it (currently only Zoneminder). To run the docker-compose file simply run:

# Remember this command - you'll need it to restart your docker containers
# if they don't start up automatically for some reason

docker-compose up -d

# If you get a permissions error, you may need to run the command as sudo

sudo docker-compose up -d

Give it a few minutes to configure itself and then try to navigate to http://<your-computer-ip-address>/zm/ or http://localhost/zm/ and you should see Zoneminder!

If you don’t see the Zoneminder web interface, give it some more time because it could still be starting up (it takes a while on the first start). For additional troubleshooting you can also visit the Zoneminder Forums.

Zoneminder System Configuration

I’ll leave all the advanced options up to you, but some Zoneminder options should probably be changed right away by clicking on the Options menu:

  • I would recommend adding authentication under Options > System > OPT_USE_AUTH
    • If using authentication, add some random text to Options > System > AUTH_HASH_SECRET
  • If you want to use Zoneminder with Home Assistant, make sure Options > System > OPT_USE_API is enabled (see below for Home Assistant configuration)

Add Cameras

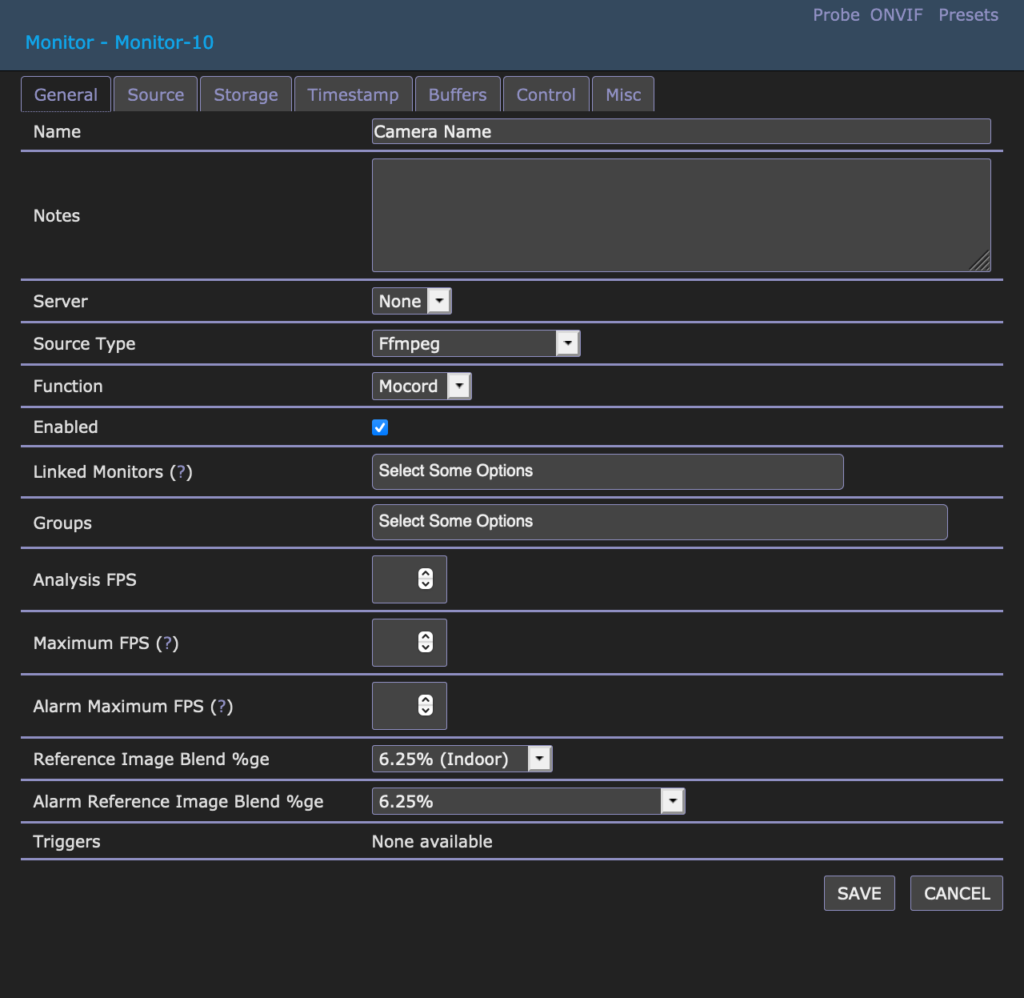
To add a camera, simply click on +Add in the Console view. You will be prompted with a camera configuration – don’t be overwhelmed with the options, you only need to change a few:

  • General Tab:
    • Name : the name of your camera
    • Source Type:
      • ffmpeg if you have access to an RTSP stream for your camera
      • Remote if you only have an ip address for your camera and no RTSP stream
  • Source Tab:
    • If using ffmpeg, enter your RTSP stream in Source Path
    • If using Remote, enter your camera’s ip address in Host Name and choose the camera’s port and/or path of the camera image files
    • Choose your camera’s resolution

Click Save.

After saving the camera configuration you should see the camera on the Console view with a green indicator icon. If the indicator is red, you may need to play with the camera configuration some more or consult the Zoneminder documentation for more details about your type of camera.

Home Assistant Integration

If you haven’t heard of Home Assistant, read my post about it here. If you know about Home Assistant you’ll want the integration which is almost too easy to install. Simply navigate to Configuration > Integrations > + and search for Zoneminder. If you don’t find Zoneminder, you may need to set it up via configuration.yaml since the config-flow setup was removed after a bug was found. To set up the integration manually, add the following to your configuration.yaml:

# Be sure to add zoneminder_url, zoneminder_username, and zoneminder_password
# to your secrets.yaml file!

zoneminder:
  - host: !secret zoneminder_url
    username: !secret zoneminder_username
    password: !secret zoneminder_password

camera:
  - platform: zoneminder

For additional configuration options see the Home Assistant docs.

Enjoy your Home Assistant integration!

Closing Notes

This post was not intended to cover all the features and configurations of Zoneminder. Don’t forget to explore other features configurations like:

  • The Mobile App
  • Event/Alert Notifications
  • Object Detection (see yolov4 in your docker_compose file)
  • Remote Access from outside your network so you can access it like: https://zoneminder.yourdomain.com
    • (I’d suggest using a reverse proxy like NGINXProxyManager – stay tuned for a tutorial about this)

Repurposing a Squeezebox

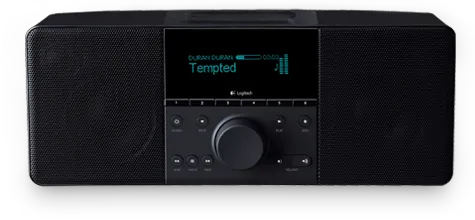
Squeezebox Boom

Squeezebox – A bit ahead of it’s time

First off, I’d like to spend a minute appreciating the craftsmanship and the premium nature of the squeezebox line of products. Almost a decade before the current ‘smart’ speakers that are common today (Echo, HomePod, GoogleHome, etc), the Squeezebox sported much of the same functionality:

  • Premium Quality Sound
  • Remote Control (via a handheld remote & web interface)
  • Streaming radio, podcasts, music, etc
  • Apps for extensible functionality
  • Web Interface for local and remote access (most modern speakers don’t offer local control)
  • Local API for extensibility (I don’t know of any modern speakers that offer this!)
  • A community of users for great support (still exists today!)

An Orphaned Squeezebox

Recently at my workplace we upgraded the office speaker and had an orphaned Squeezebox Boom. We were ready to recycle the 12 year old speaker, but it still seemed to have so much potential. The speaker hardware worked flawlessly (although the online services have been neglected by Logitech). Naturally, since I knew the Squeezebox had a local API, my instinct was to check if Home Assistant had any support for such a device, and sure enough it has a Logitech Squeezebox integration! After browsing the integration documentation I figured it would be worth an effort to give the Squeezebox a new life.

Prerequisite for Integration: Logitech Media Server

The Home Assistant documentation indicated that I would need to have a Logitech Media Server in order to control the Squeezebox – A slight inconvenience, but a quick search on DockerHub revealed some pre-built docker containers that can provide me with a self-hosted alternative to the Internet reliant interface that Logitech could shut down at any time. Setting up the docker container was as simple as adding the following to my docker-compose file and running: docker-compose up -d. Stay tuned for future posts about Docker & docker-compose. They are great tools for quickly setting up various services!

#Logitech Media Server
logitechmediaserver:
  container_name: "logitechmediaserver"
  image: lmscommunity/logitechmediaserver:stable
  restart: always
  ports:
    - 9000:9000/tcp
    - 9090:9090/tcp
    - 3483:3483/tcp
    - 3483:3483/udp
  volumes
    - logitechmediaserver_config:/config:rw
    - logitechmediaserver_music:/music:ro
    - logitechmediaserver_playlist:/playlist:rw
    - /etc/localtime:/etc/localtime:ro
    - /etc/timezone:/etc/timezone:ro

...

volumes: 
  ...
  #logitechmediaserver
  logitechmediaserver_config:
  logitechmediaserver_music:
  logitechmediaserver_playlist:

Exploring Logitech Media Server

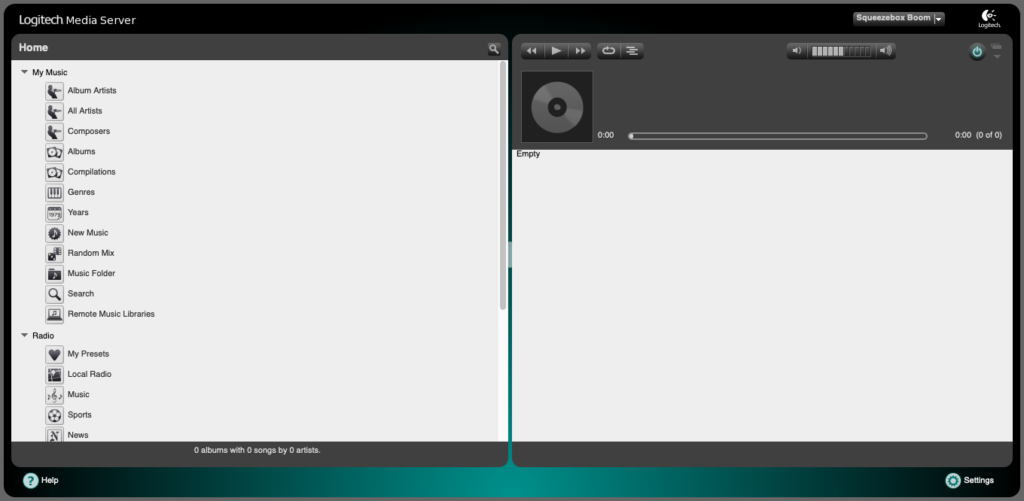
After starting the docker container I was able to natigate to the Lotitech Media Server web interface which was a bit outdated:

Logitech Media Server Default Interface

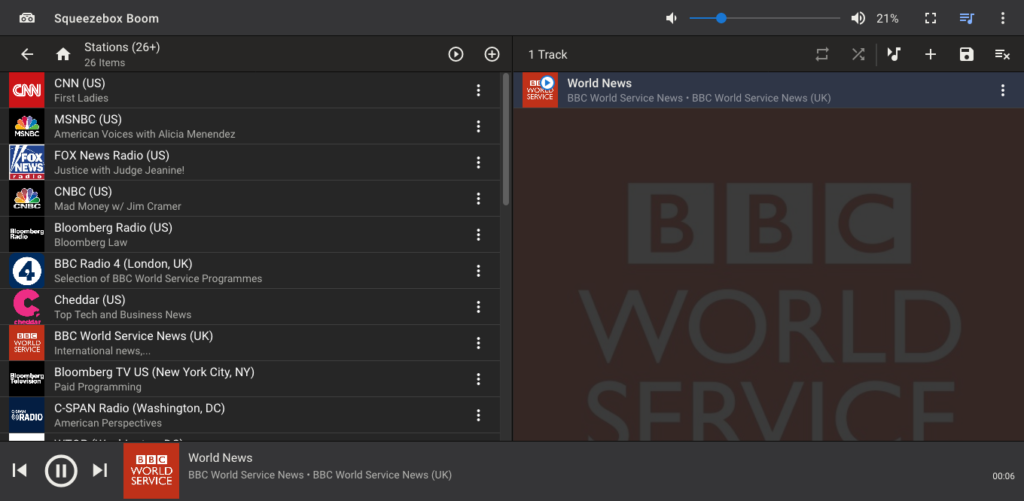
Let’s fix the outdated interface by trying a community developed ‘Material Skin’. Ah.. much better!

A Community Developed Material Theme for Logitech Media Server

There are numerous other extensions that sounded promising (i.e. Airplay/Chromecast support), but those will wait for another day. Let’s get back to integrating this into Home Assistant…

Home Assistant Integration

The Home Assistant integration was a breeze to setup:

  1. Open Home Assistant web interface
  2. Click Configuration Menu Icon (Gear)
  3. Click Integrations
  4. Click Add Integrations
  5. Click on Logitech Squeezebox
    • At this point Home Assistant may auto-discover your Squeezebox, if not continue…
  6. Enter the IP address of the Squeezebox
  7. Enter the Username/Password for the Squeezebox Web interface (if configured)
  8. Enjoy!
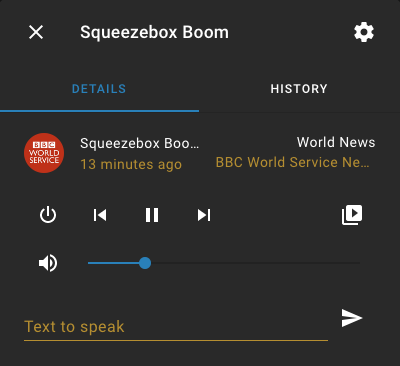
    • Home Assistant control of the Squeezebox
    • Additional features like playing Home Assistant media & sending Text to Speech to the speaker.
    • History of played media
    • Trigger media based on other smart devices/sensors.

Squeezebox reborn!

< Home Assistant Media Card

Home Assistant Card Detail >